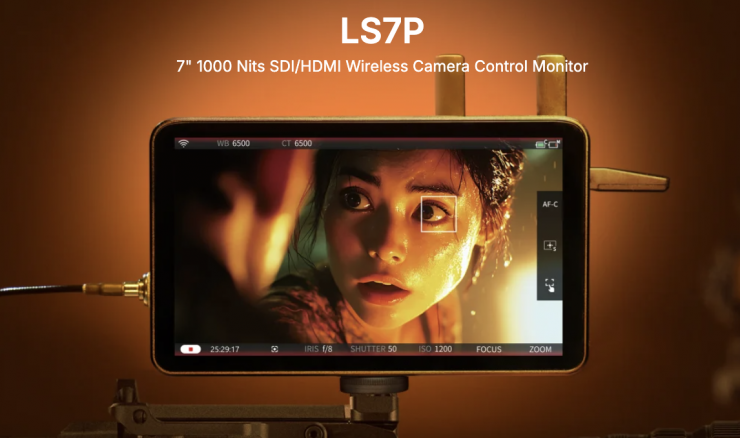
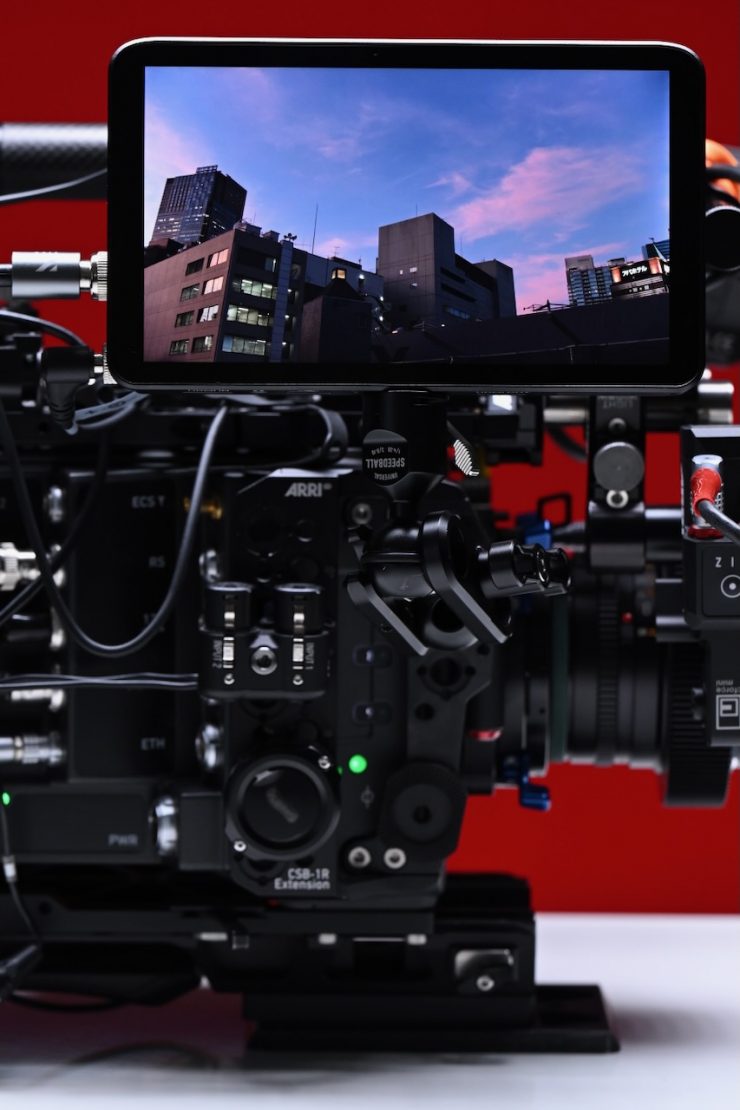
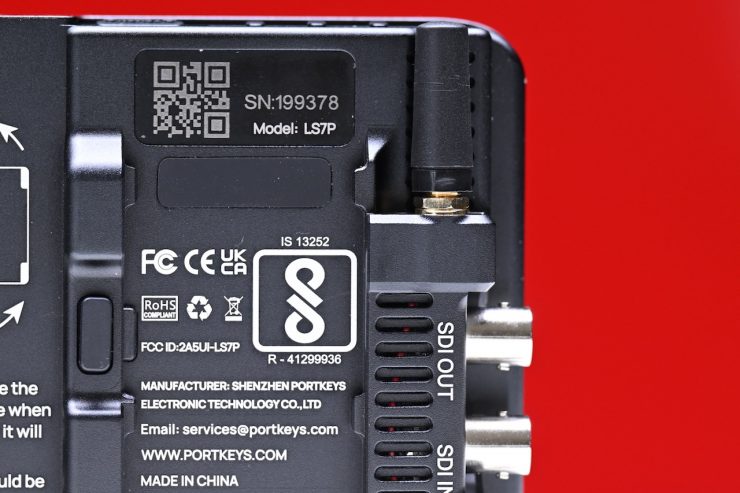
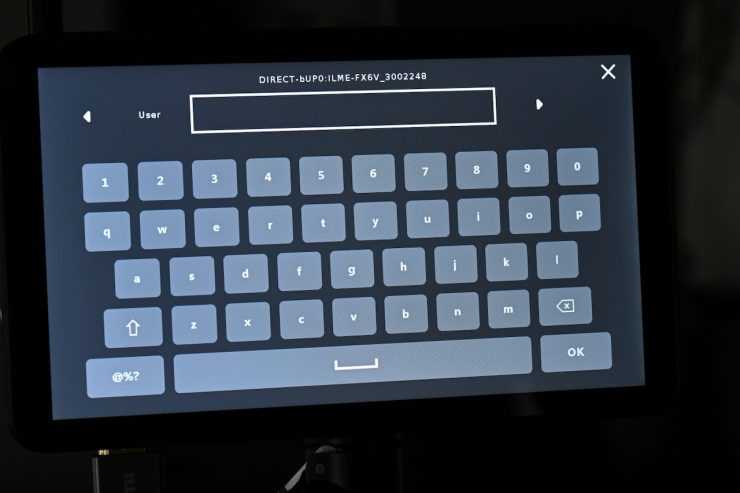
Portkeys recently announced its new LS7P On-Camera Monitor. The LS7P is a 7-inch on-camera monitor with HDMI and SDI video input/output ports, wireless camera control capabilities, and a handy rotatable built-in Sony NP-F dummy battery plate.
The LS7P introduces a new control system that features a unique way to control multiple Portkeys monitors and cameras, all from one monitor.
With so many 7″ monitors on the market, you really need to provide something that is different and/or better for it to stand out.
Screen & Image Quality
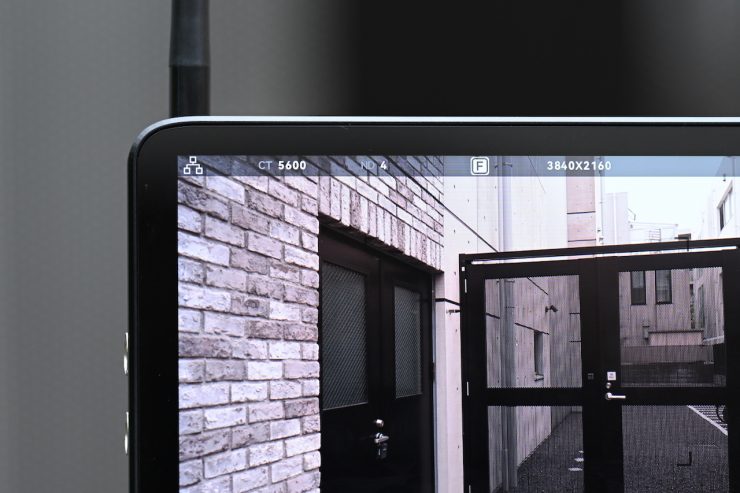
The Portkeys LS7P features a 7-inch touchscreen panel with a resolution of 1920 x 1080. It has a claimed maximum brightness of 1,000nits and a contrast ratio of 1000:1. The 10-bit (8+2 FRC) panel is factory color-calibrated, and it is claimed to have a wide viewing angle of 80° from all sides. It also comes with two screen protectors to safeguard the touchscreen from accidental damage.
At least from my experience, a lot of the ‘affordable’ monitors leave a lot to be desired when it comes to the color accuracy and overall image quality. A lot of them also had pretty ordinary operating systems, but that has started to change over the last few years.
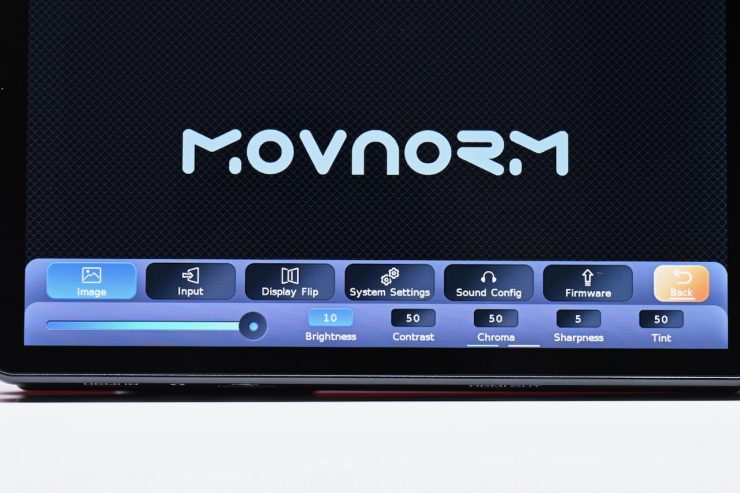
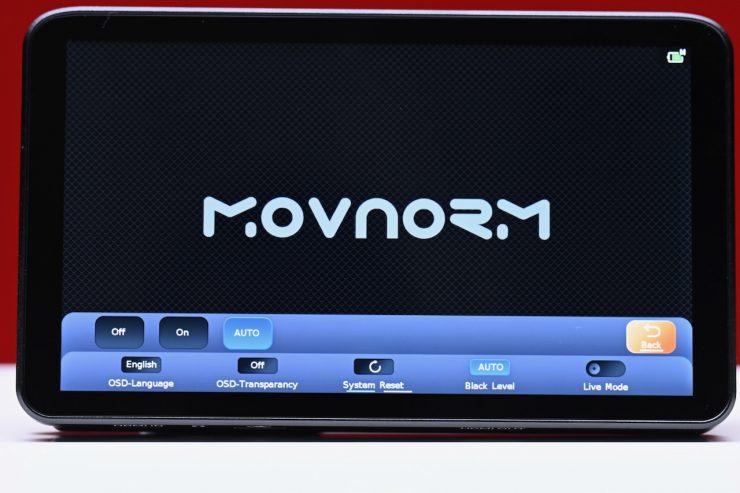
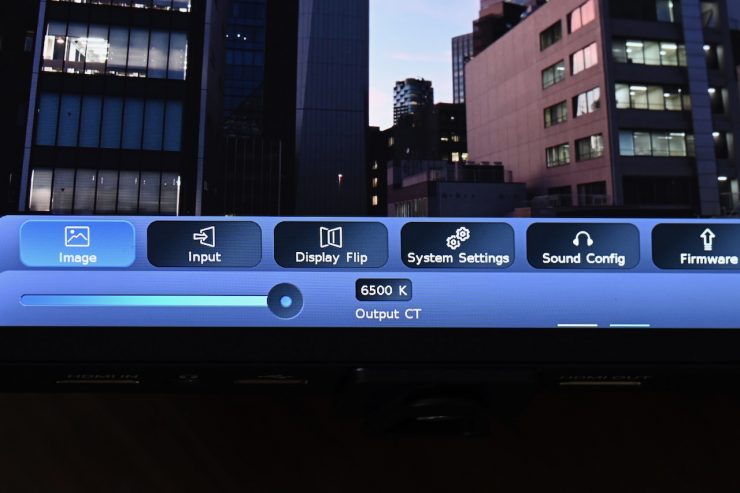
In the menu, you can change the brightness, contrast, chroma, sharpness, tint, and output CCT. You can also adjust the black level from Auto to on or off, but strangely, that is located in a different menu. Portkeys told me that they will also be enabling a calibration function soon through a firmware update.
On the negative side, it did find that the brightness was not great, especially after having used high-brightness monitors over the last 4-5 years.
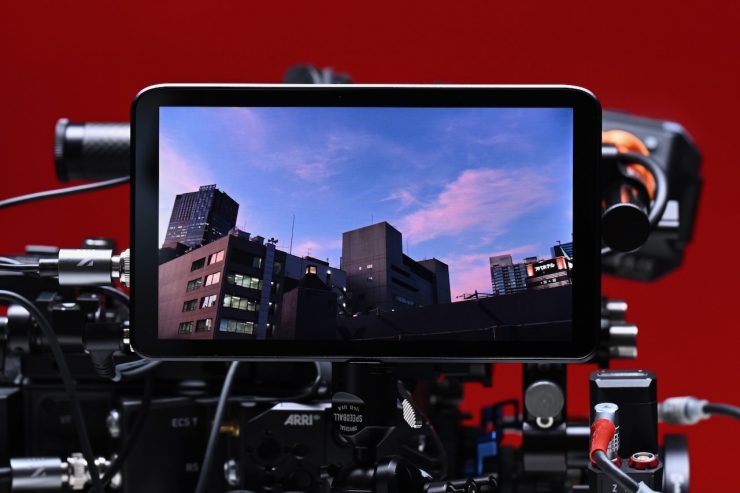
I personally found the screen quality to be good, especially given the monitor’s low price. To my eye, the colors looked pretty accurate.
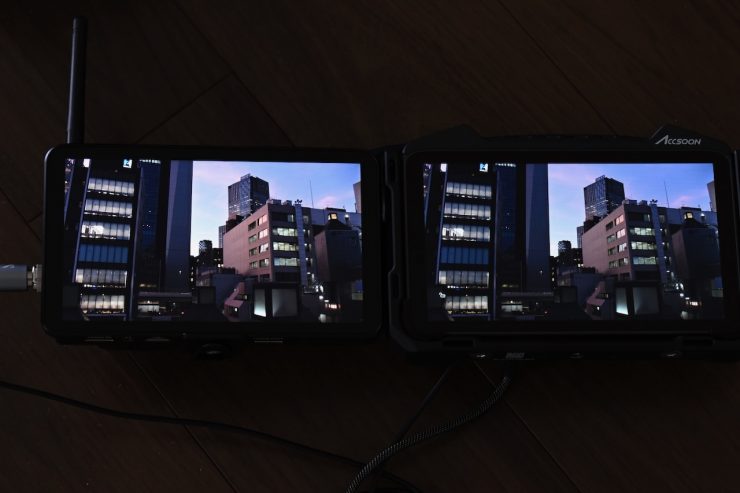
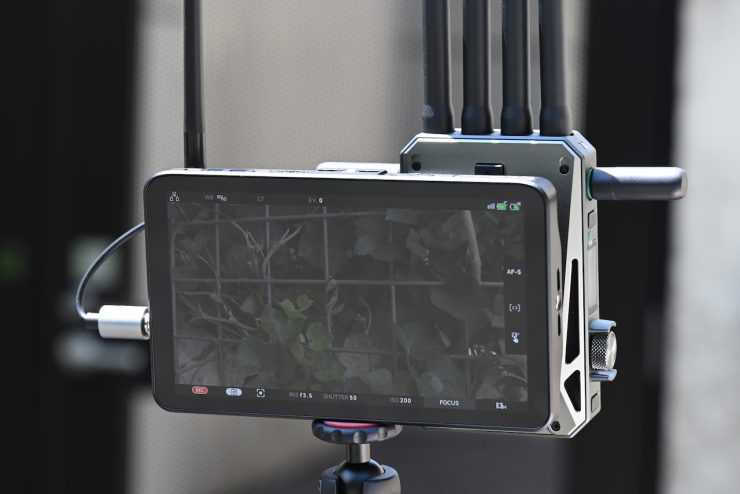
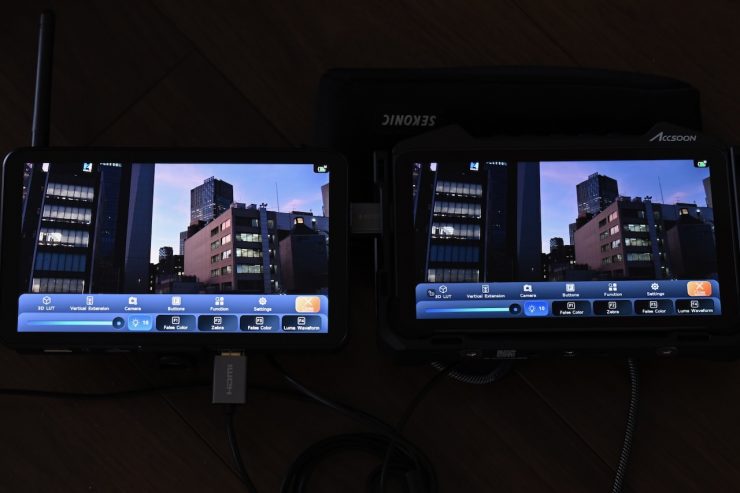
Above, you can see how it compares to the Accsoon M7. While it’s hard to see in a photo, I personally found both images to look very similar. If anything, the PortKeys LS7P was just a tiny bit more magenta. This bodes well for the LS7P, as the Accsoon M7 has a very accurate screen.
Is the screen bright enough?
As I have already mentioned, the LS7P is claimed to feature a 1,000-nit daylight viewable screen.
I personally think that 1,000 nits isn’t enough to be what I would consider daylight viewable. I really think you need a screen with at least 1,800-2,000 nits to make that claim.
Used in the sun 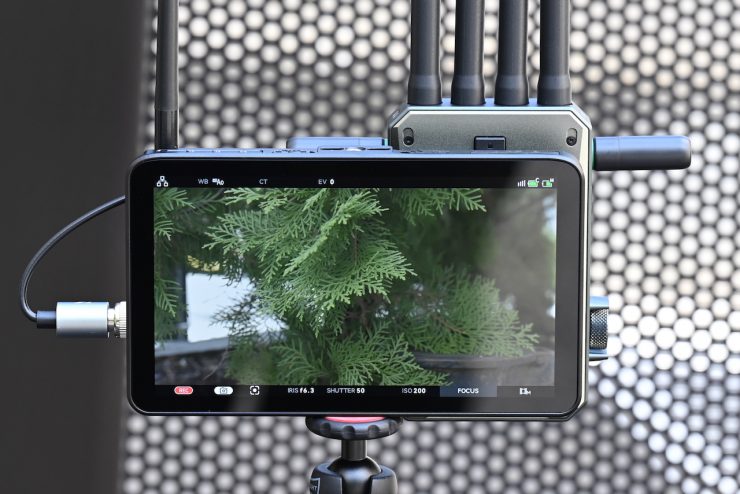
Used in the shade
I found that in real-world use, the screen wasn’t bright enough to see outdoors in bright sunlight. It is also fairly reflective, so you have to adjust the angle of the monitor to avoid reflections.
Just like higher resolution doesn’t always equate to a better camera, higher nits don’t always equate to a better monitor. Too often, I have seen monitors that have high nits, but look horrible.
Like most monitors, the LS7P utilizes 8+2 FRC. A lot of companies list their monitors as 10-bit even though they are really using a 10-bit (8+2 FRC) panel. FRC stands for Frame Rate Control Technology, and an 8+2 FRC panel is basically a way of trying to approximate the color reproduction of a true 10-bit panel. A true 10-bit monitor can display 1024 shades of color, whereas a 10-bit (8+2 FRC) panel can only truly display 256 shades. So what a 10-bit (8+2 FRC) panel does is artificially create in-between shades of color by quickly shifting the pixels to go between certain shades of colors.
For example, you would show the main shade of one color for 75% of the time and then another one for 25% of the time. This creates an illusion for the viewer that they are actually seeing more colors than what can actually be displayed.
Is it actually 1,000 nits?
To check the claimed brightness of the LS7P, I shot a white card and then exposed the image so it was just below 100% so there was no clipping. I then took a reading from the LS7P using a Sekonic C-800. The Portkeys LS7P has a claimed maximum brightness of 1,000 nits, so does it produce 1,000 nits?

The LS7P gave me a reading of 1080 lux with the brightness set to 100%. This was slightly more than the claimed 1000 nits.
| BRIGHTNESS | |
| Portkeys LS7P | 1080 lx |
| CineView M7 | 808 lx |
| SmallHD ULTRA 7 | 3050 lx |
| Hollyland PYRO 5 | 1590 lx |
| Holyland PYRO 7 | 1100 lx |
| Hollyland MARS M1 | 997 lx |
| Vaxis Atom A5 | 1210 lx |
| Atomos Ninja V | 960 lx |
| Shimbol ZO600M | 1000 lx |
| Vaxis A5H | 796 lx |
| CVW Swift Z | 259 lx |
Above, you can see what the brightness was for other products I have tested.
Does accuracy really matter?
I have said this before, and it may sound like a ridiculous question to ask, but with everyone watching content on different screens and types of screens, it’s a legitimate question.
Just because you are basing color accuracy, brightness, and contrast off whatever monitoring or grading monitor you are using, there is very little chance that it is going to be seen by someone as intended unless it happens to be shown in a movie theatre (and even then, there are still variables).
In the case of giving a monitor to a director, producer, or client, does it really need to be super accurate? That answer is really going to depend on the level of production. For me personally, I would rather try and provide the best image possible so that a director, producer, or client knows exactly what they are getting. I don’t necessarily think that a small-sized field monitor needs to be 100% accurate, but it should be able to deliver an image that doesn’t look too far removed from your camera’s EVF or LCD.
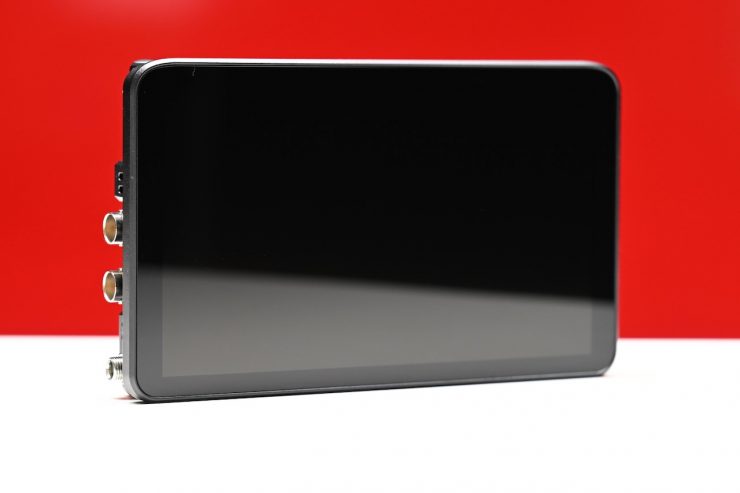
Size & Weight
The LS7P weighs 409g / 0.9 lb. It has physical dimensions of 176.2 x 103.8 x 39.3 mm (6.93 x 4.08 x 1.54 inches).
It is very lightweight for a 7″ monitor.
| WEIGHT | |
| Portkeys LS7P | 0.9 lb / 409g |
| Accsoon CineView M7 | 1.1 lb / 494.3g |
| SmallHD ULTRA 7 | 2 lb / 900g |
| SmallHD INDIE 7 | 1.62 lb / 737g |
| SmallHD Cine 7 | 1.25 lb / 567g |
| Atomos Ninja TX | 0.88 lb / 400g |
| Atomos Shinobi 7″ | 1.27 lb / 577g |
| Atomos 7″ Shogun Ultra | 1.61 lb / 730g |
| Blackmagic Design Video Assist 7″ | 1.81 lb / 825g |
| TVLogic F-7HS | 1.8 lb / 800g |
| Portkeys LS7P | 0.9 lb / 409g |
| Portkeys LH7P | 0.54 lb / 245g |
| BenQ 7″ | 1.5lb / 693g |
| FeelWorld S7 | 1.21 lb / 550g |
| Shimbol M7 | 1.0 lb / 455g |
| OSEE G7 Pro | 0.9 lb / 409g |
Above, you can see how the weight compares to some other 7″ monitors on the market.
I would argue that a 7″ monitor is too big for most mirrorless hybrids and some of the smaller-sized digital cinema cameras; however, because the LS7P is so lightweight, I think you could get away with it. As it only features a single NP-F battery plate, you won’t increase the weight significantly by adding a battery.
I think a 7″ monitor is better suited to mid to larger-sized digital cinema cameras, but each to their own.
Build Quality
The casing of the monitor is made entirely of aluminum. It is solidly made and well constructed, especially for a monitor at this price. The physical buttons and switches are decent enough.
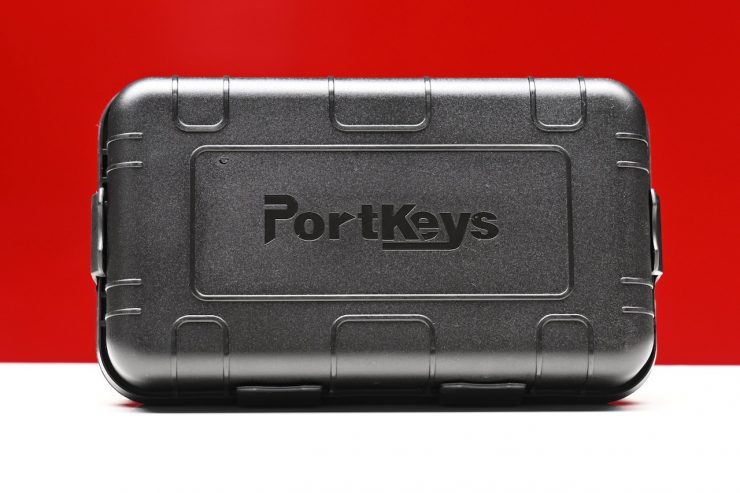
The monitor comes in a nice little hard case, which is a nice touch.
Mounting
The Portkeys LS7P has a 1/4″-20 mounting point with locating pins on the bottom. It also has two more 1/4″-20 mounting points located on the top and right sides.
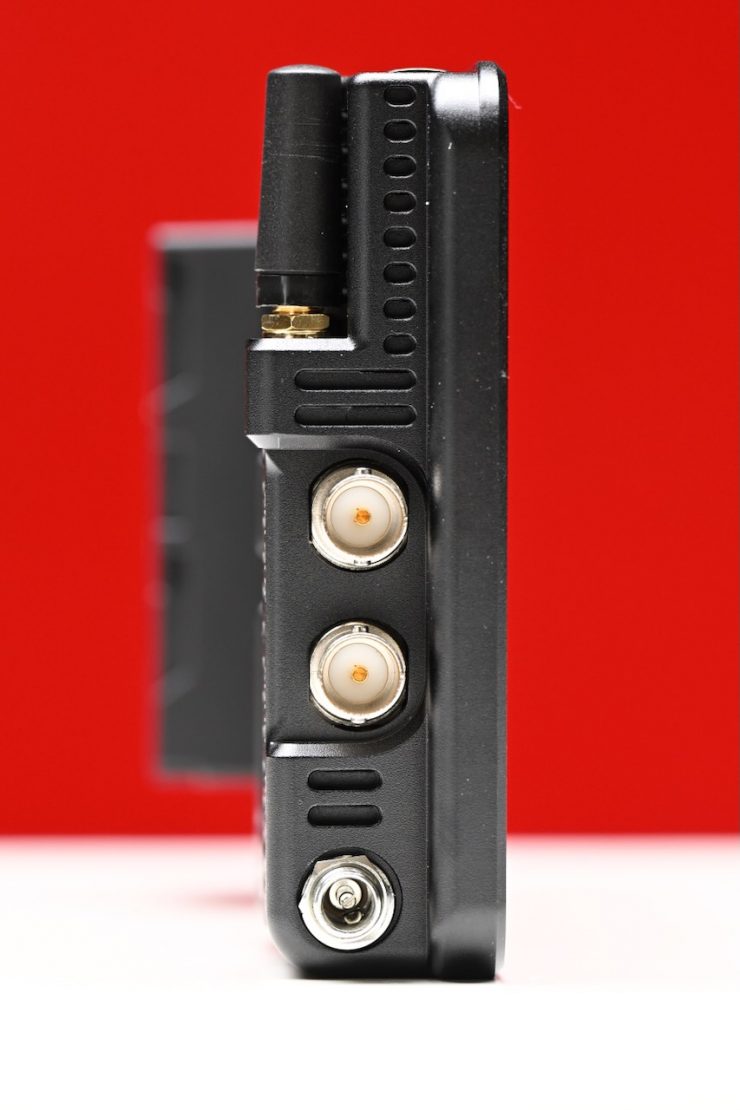
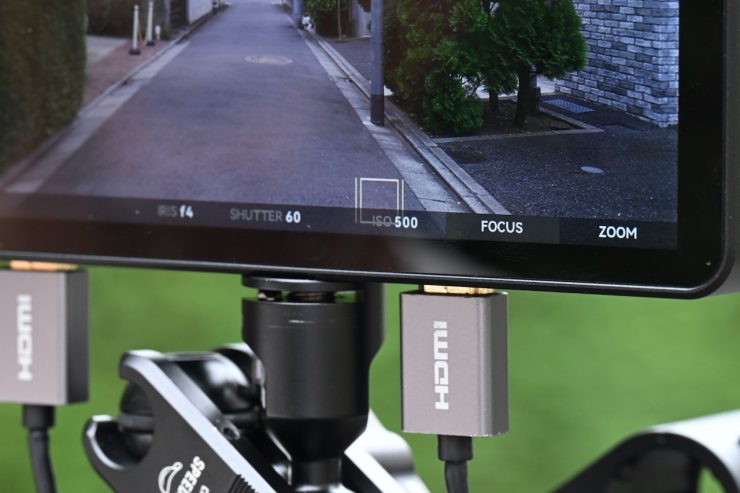
Inputs & Outputs


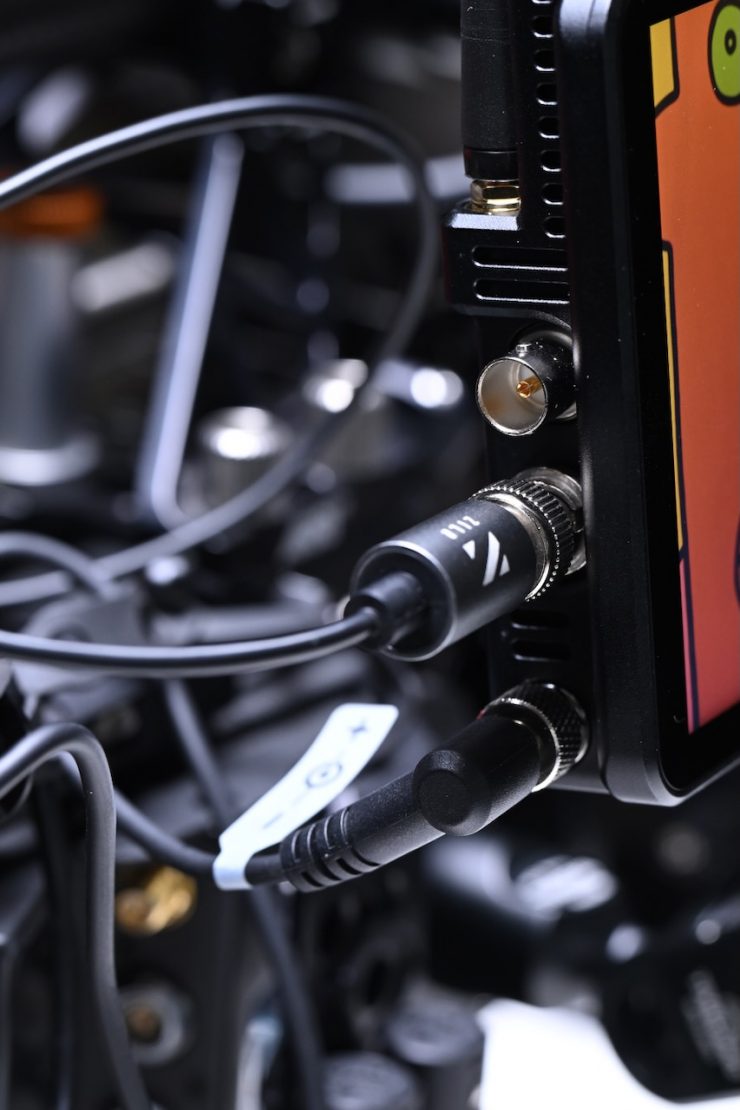
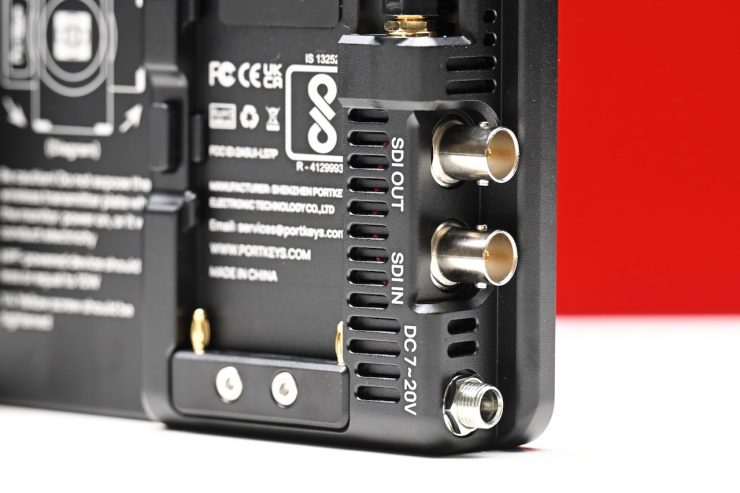
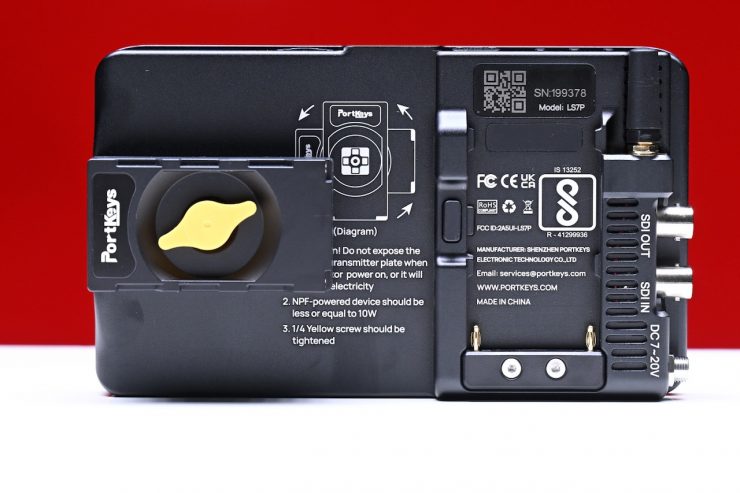
On the left-hand side, there is a 3G-SDI 1080p60 video input and a 3G-SDI output. Additionally, cross-conversion from SDI input to HDMI output is possible. Below the SDI ports is a 7-20V DC barrel input.
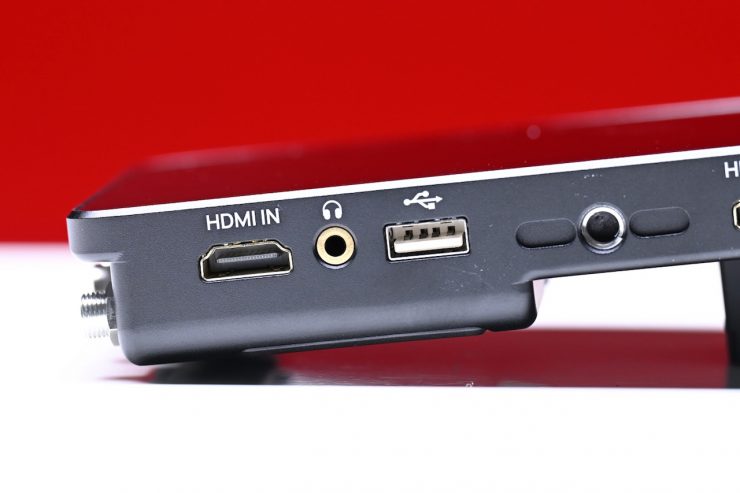

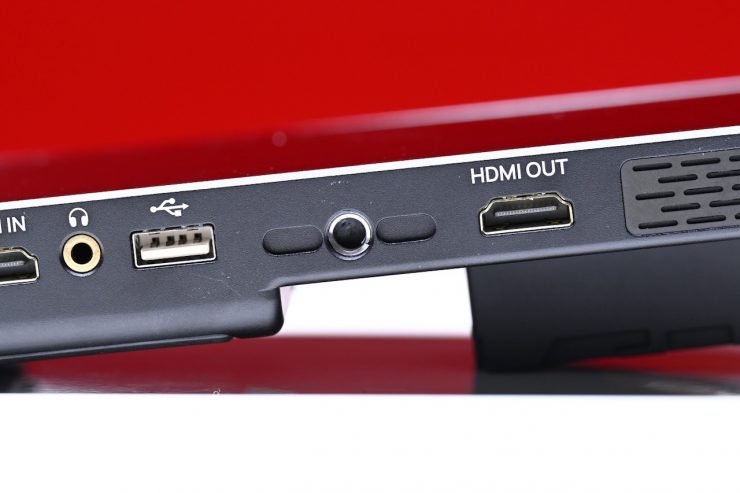
The LS7P also features one 4K DCI 30p/1080p60 HDMI input port and one 1080p60 HDMI output port, which are both located on the bottom of the monitor.
The issue I found when doing cross conversion is that the LSP7 doesn’t output a clean signal. When I had an SDI input coming into the monitor, and then took an output from the HDMI and fed it into the Accsoon M7, all the on-screen information and anything I did on the LSP7 was passed over to the M7. This makes the cross conversion hardly ideal.
It is important to note that the monitor doesn’t cross convert HDMI to SDI. If I had an HDMI input going into the monitor and then took an SDI output and sent it to another monitor, no signal would be recognized.
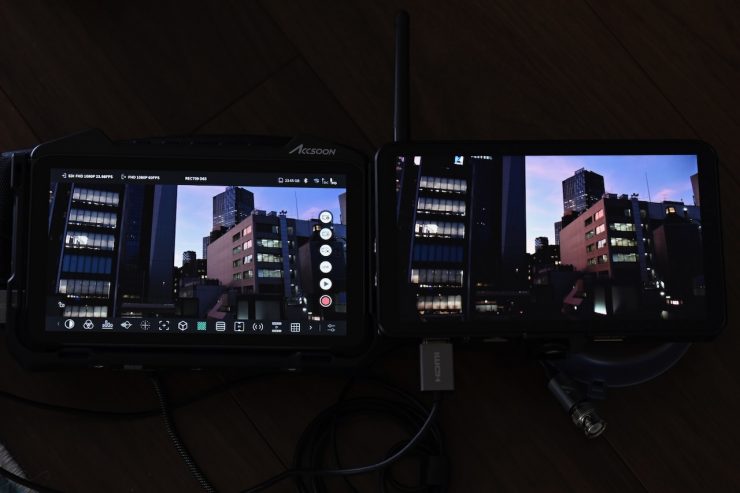
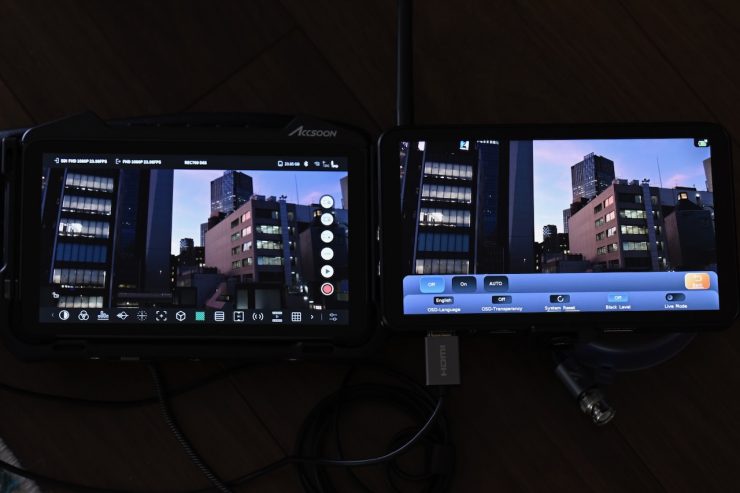
What I also found is that if the LS7P was receiving a signal from another monitor, the blacks were getting crushed. What I had to do to fix this was to go into the Black Level setting and turn it off.
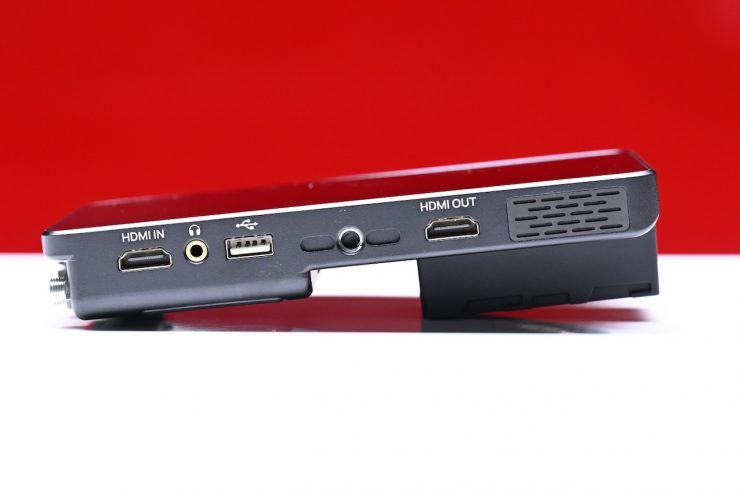
On the bottom of the monitor, you will also find a USB-A port and a 3.5mm headphone jack.
Controls
Like most monitors, the LS7P features a touchscreen interface.
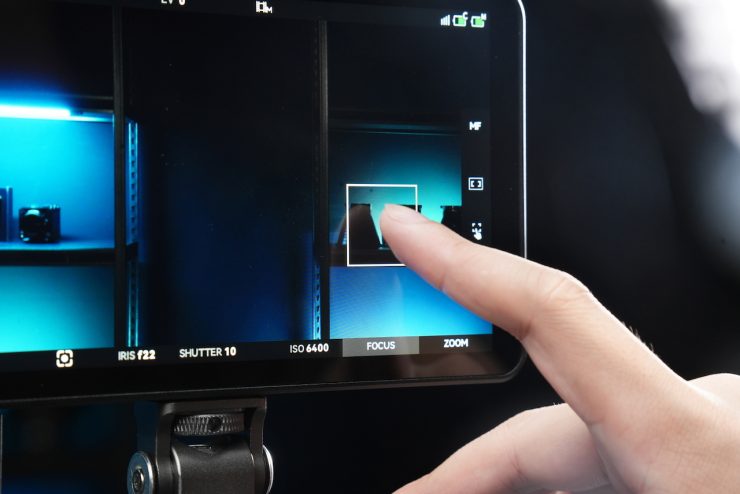
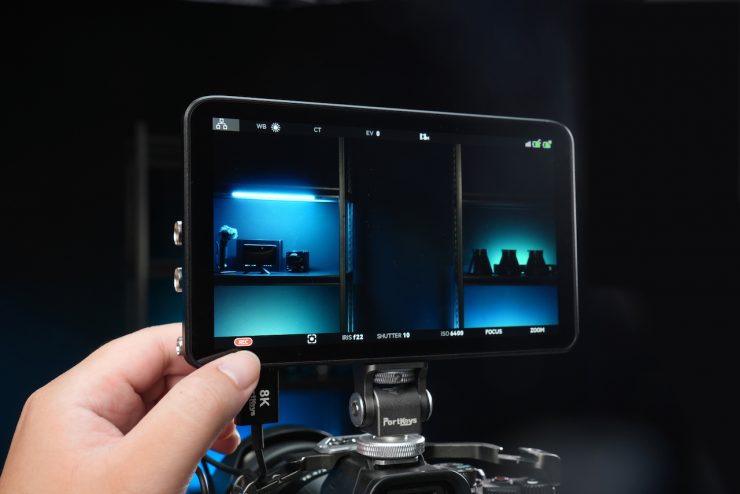
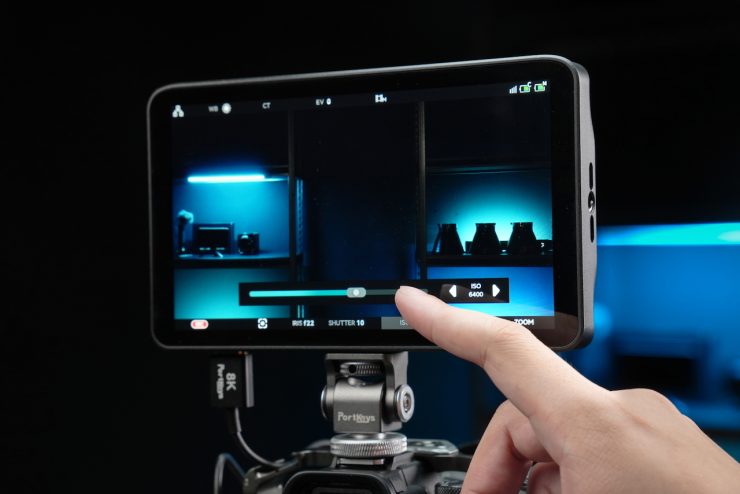
Above, you can see how the pinch-to-zoom works.
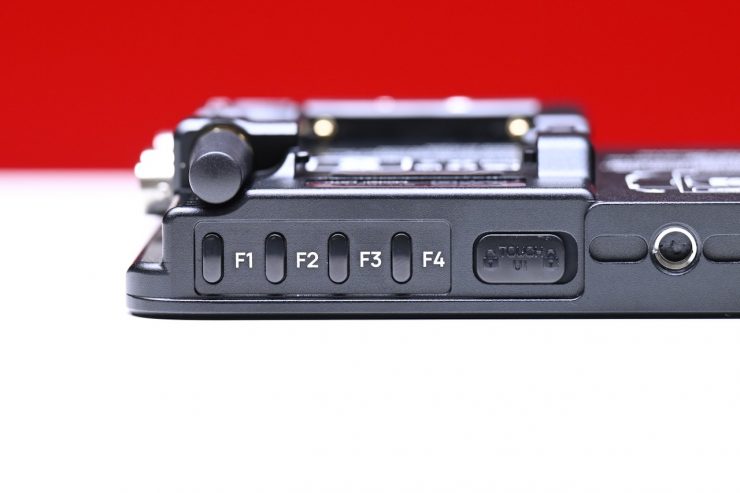
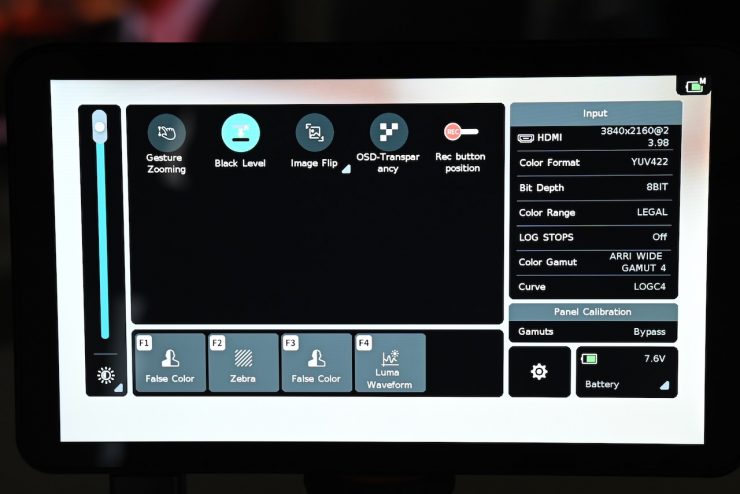
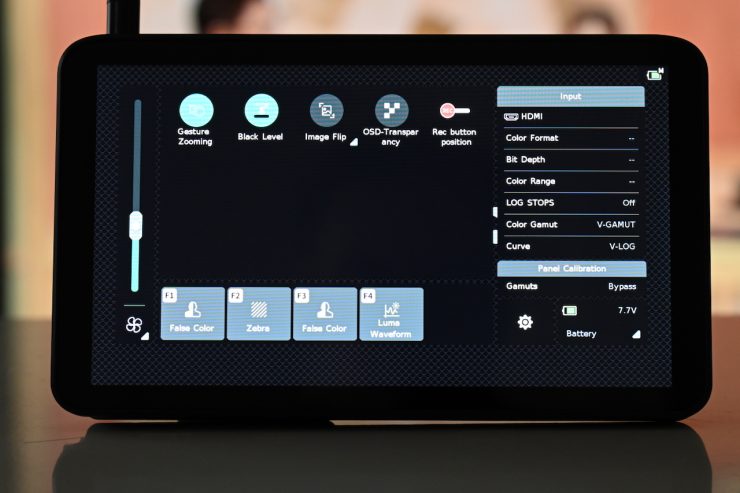
At the top of the monitor, you will find four user-assignable buttons that allow you to activate or deactivate your favorite monitor tools. You can customize these. Here is what they are set to by default:
- F1: Peaking
- F2: Zebra
- F3: False Color
- F4: Luma Waveform
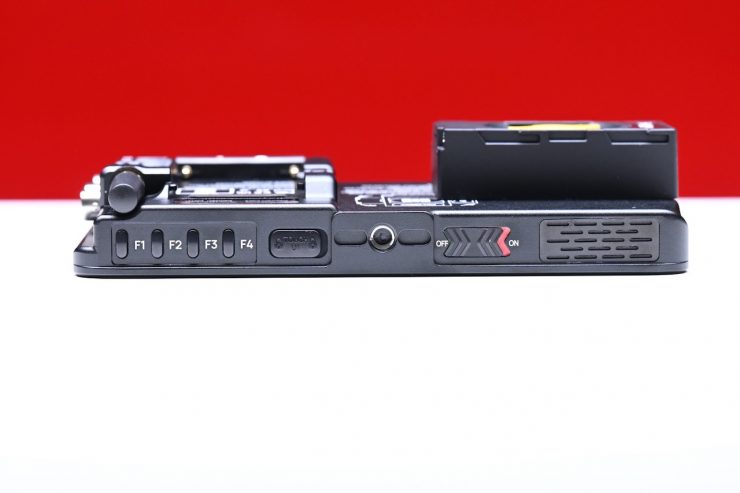

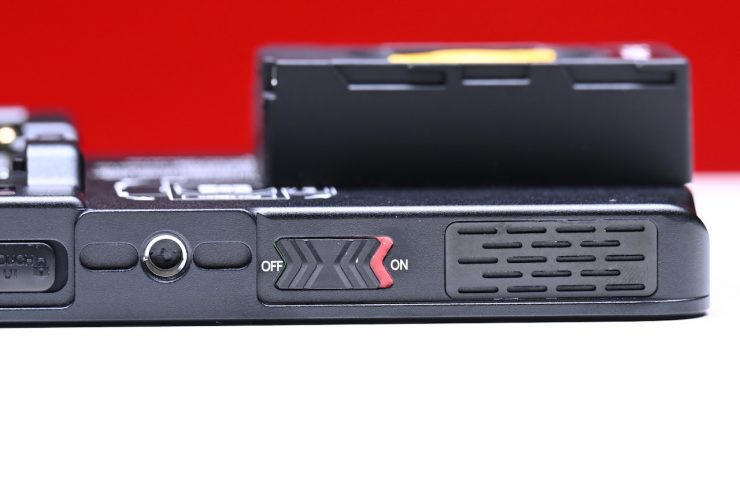
On top of the monitor, there is also an on/off switch and a touchscreen lock switch.
How can it be powered?
The Portkeys LS7P monitor can be powered using a single Sony NP-F battery. With a low power draw of just 13W, a single Sony NP-F970 battery can power the monitor for up to 3.5 hours.
Additionally, the monitor features a DC 7-20V power input with a locking DC 5.5×2.1mm barrel connector. This allows you to extend the monitor’s usage time by powering it via a V-Mount or Gold Mount battery using the included D-TAP to screw-in DC power cable.
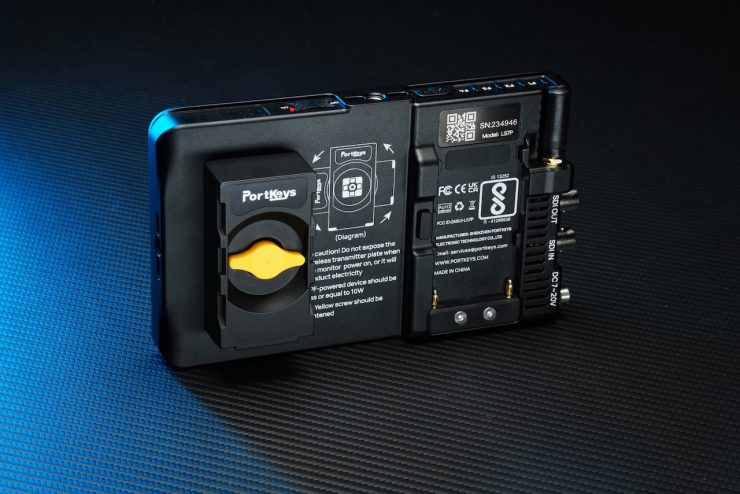
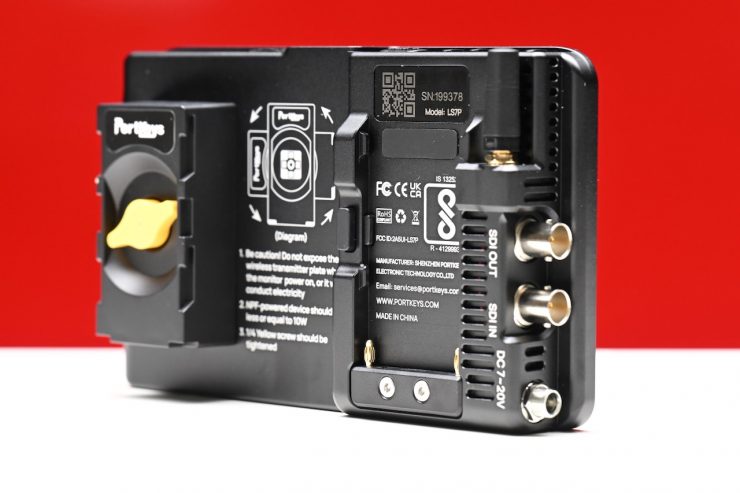
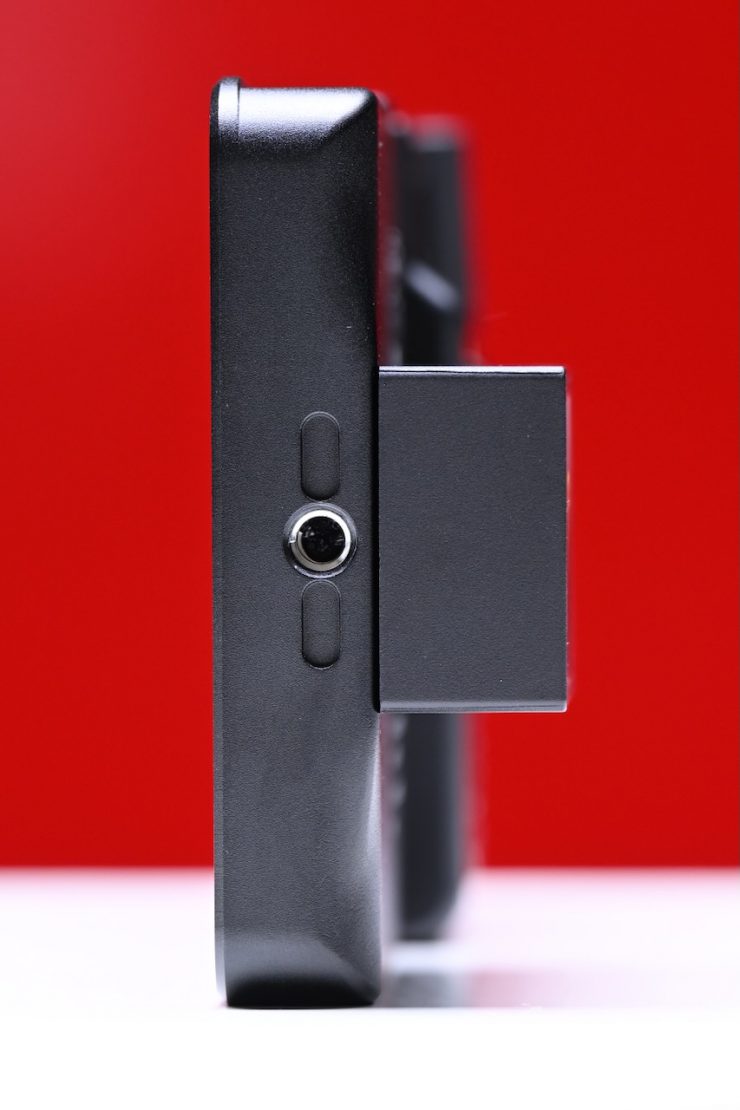
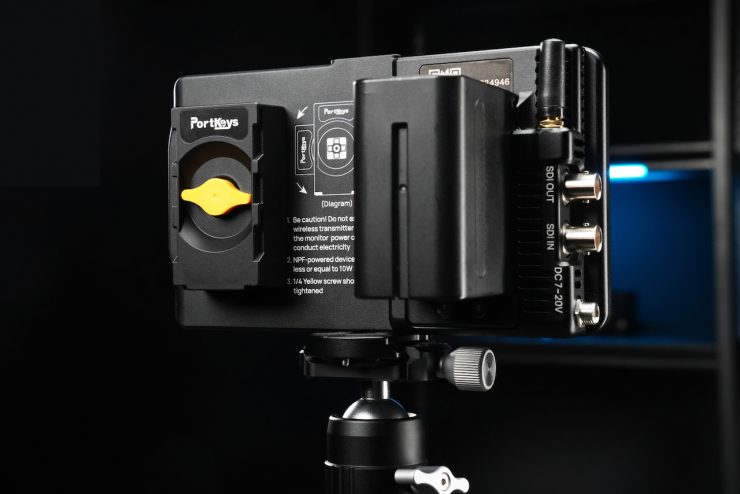
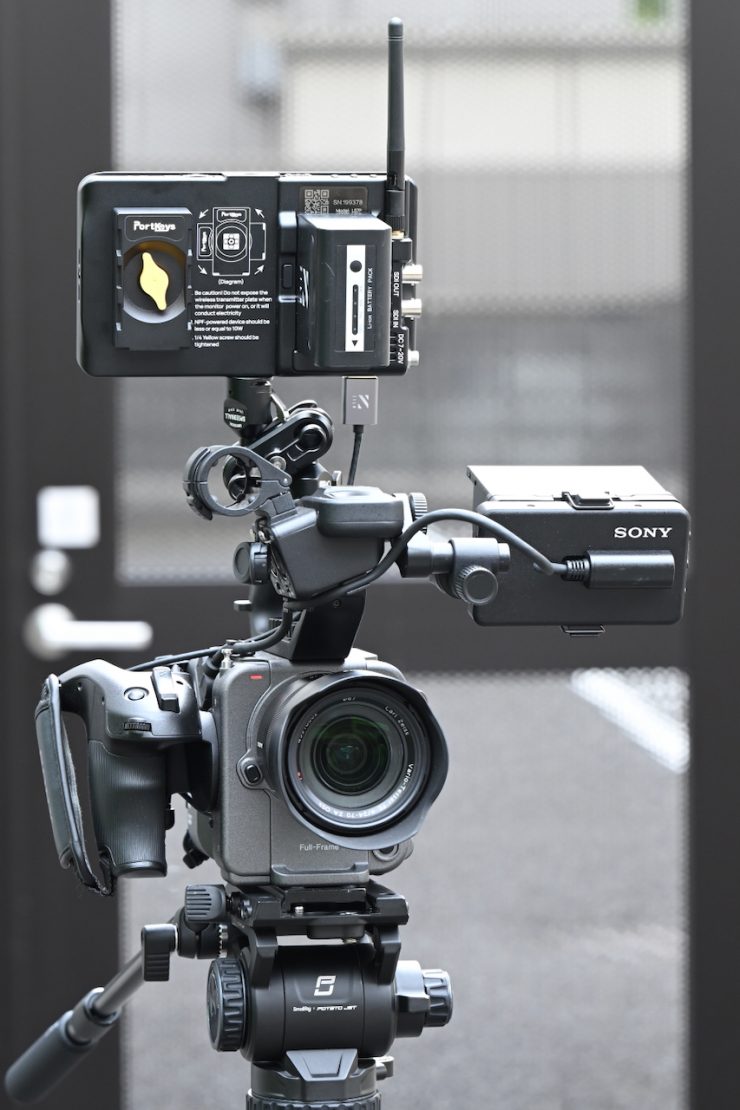
First introduced with the Portkeys HS8 director’s monitor, the LS7P features a patented design that includes a built-in Sony NP-F power output dummy battery plate.
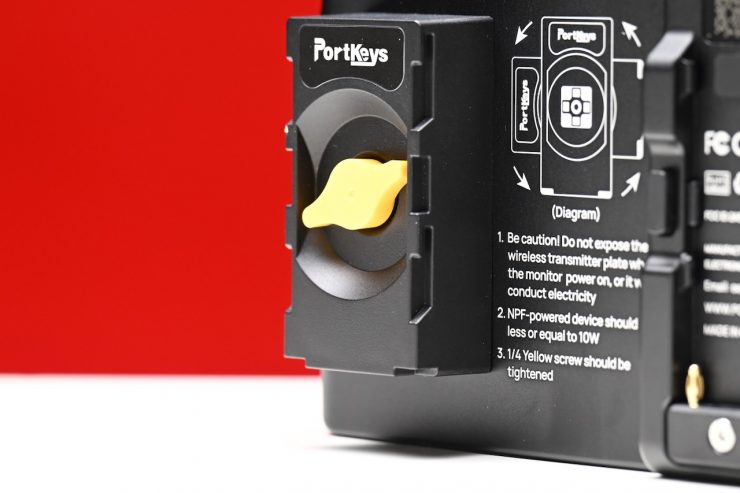
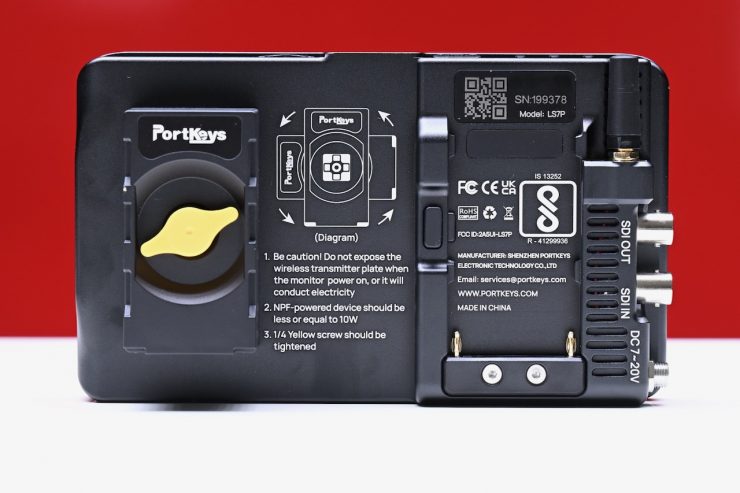
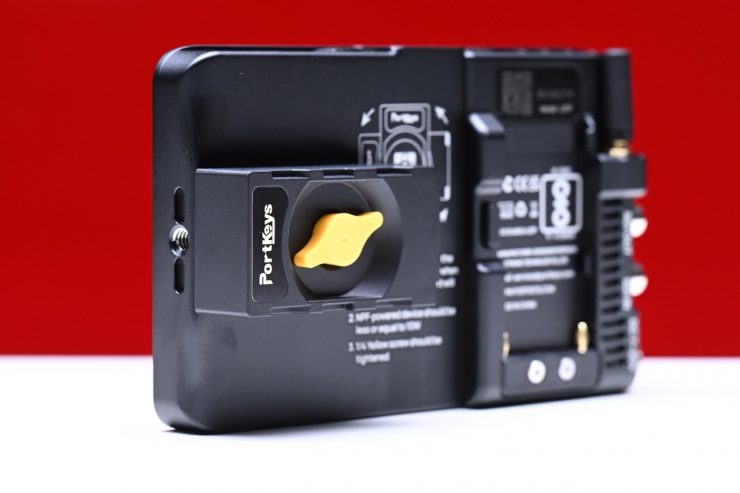
This rotatable battery plate can be adjusted both horizontally and vertically.
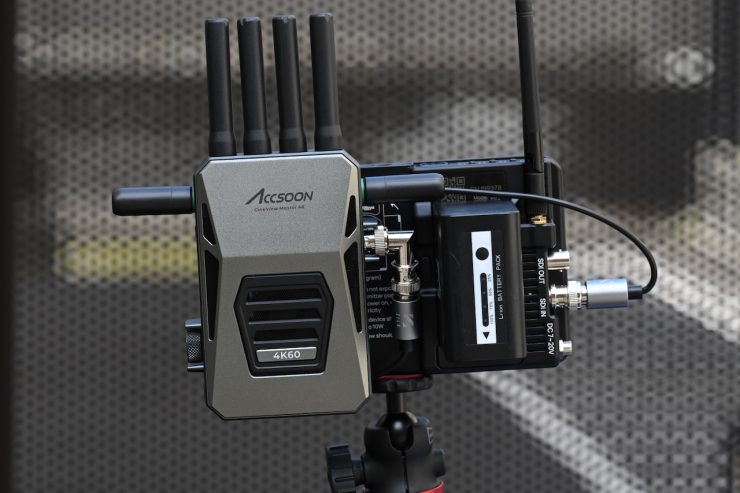
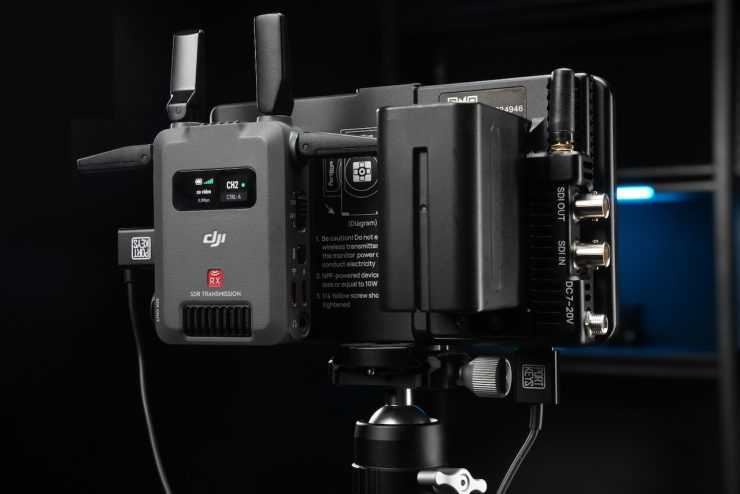
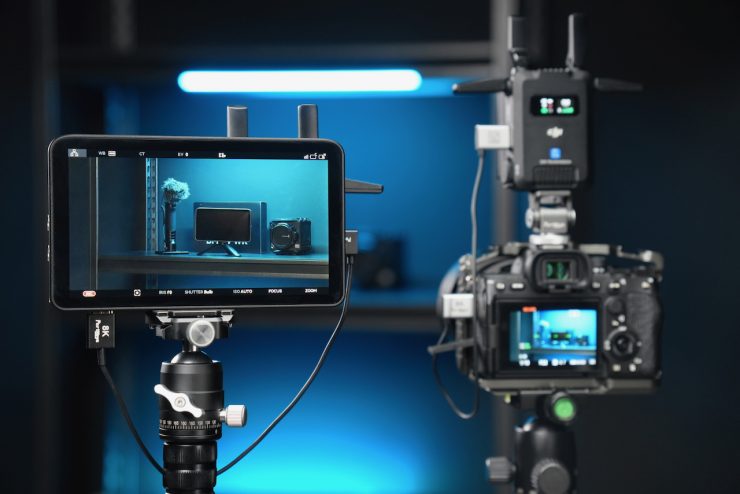
It also offers power pass-through capabilities (8V/10W), enabling you to connect and power a wireless video receiver directly at the back of the LS7P. This is a nice way of creating a wireless director’s monitor without a lot of cables.
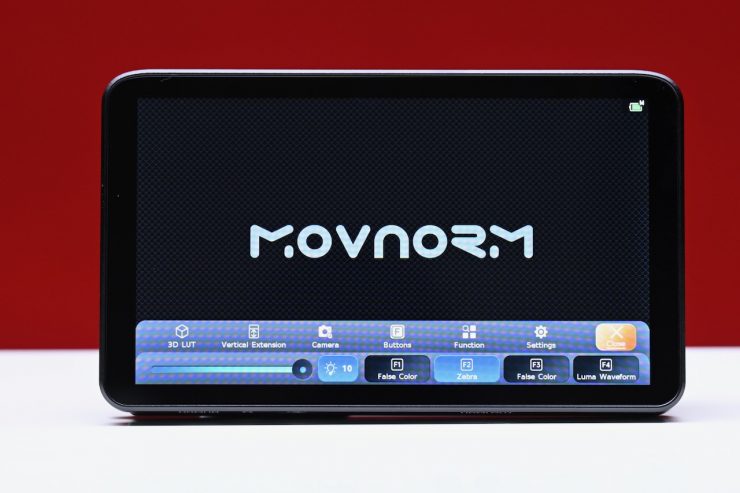
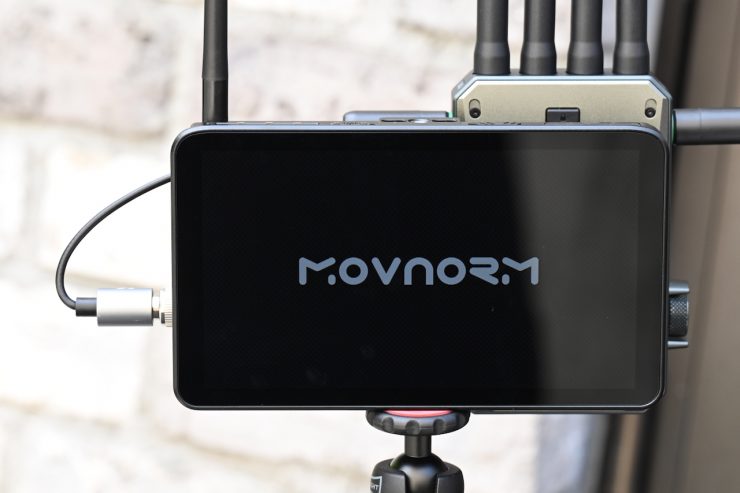
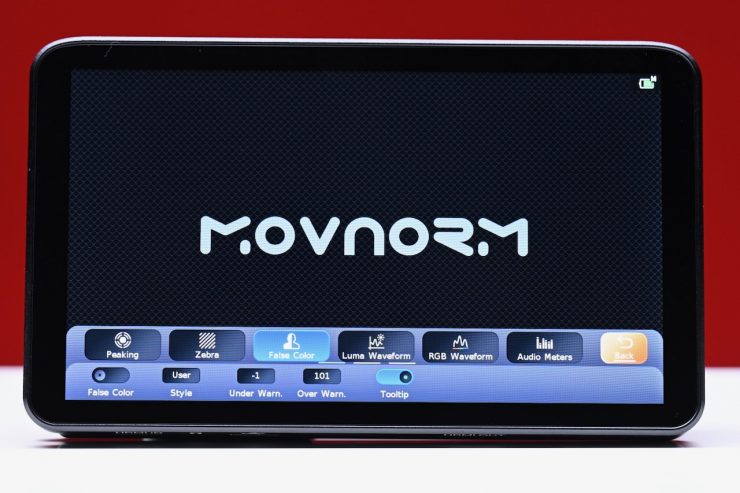
Operating Systems
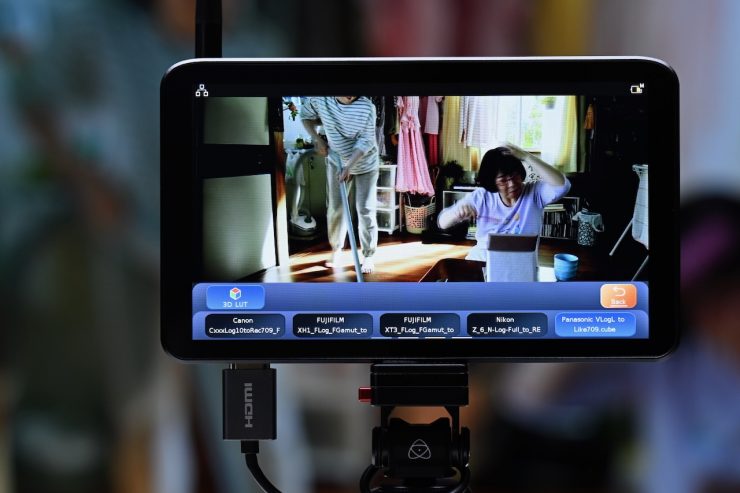
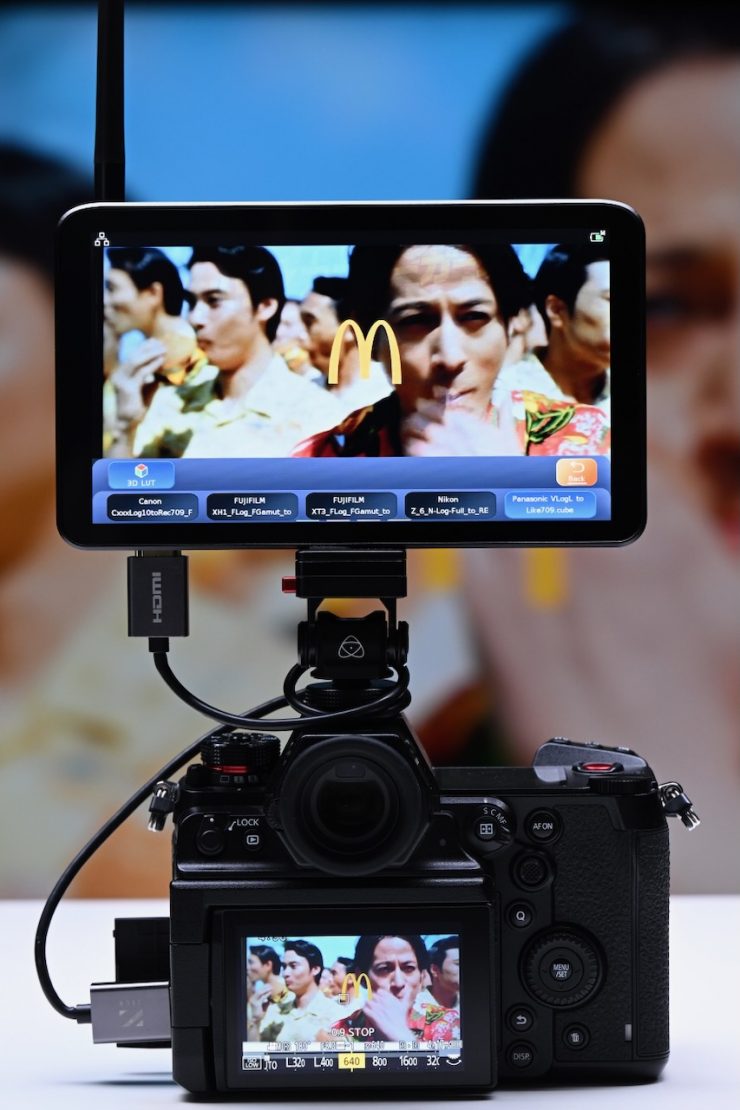
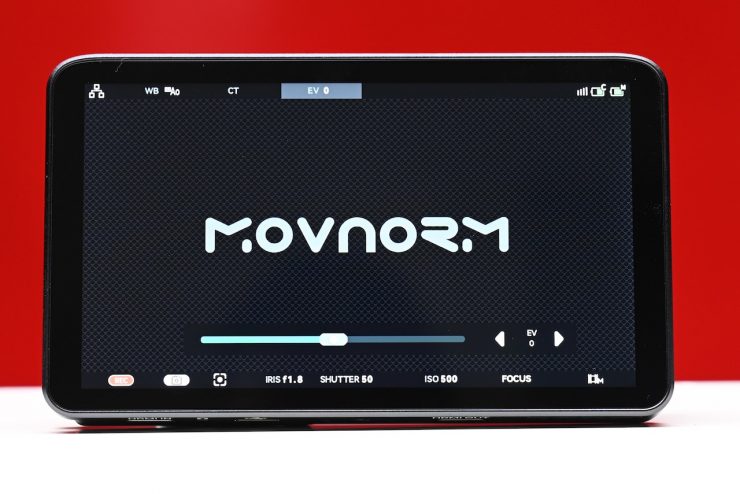
Powered by MOVNORM OS, the Portkeys LS7P includes a full suite of professional monitoring tools which are highly customizable and easy to use, including:
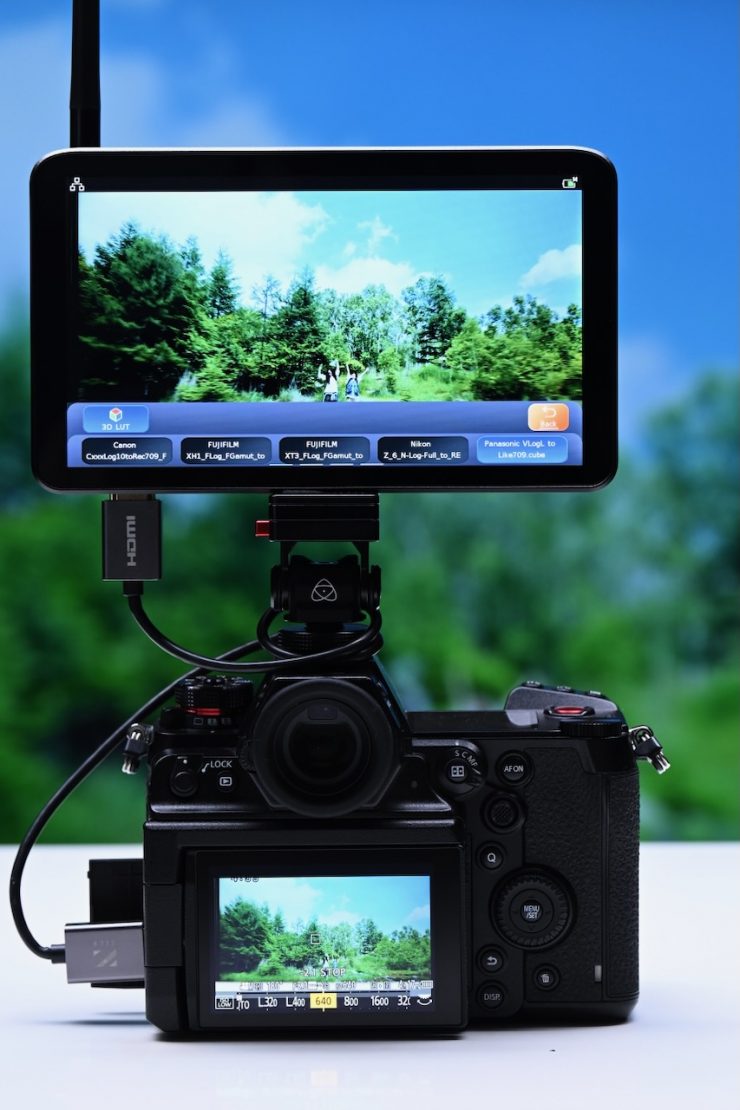
- 3D LUT monitoring with 3D LUT output capabilities. Up to 20 custom LUTs can be loaded via the USB-A port at the bottom of the monitor.
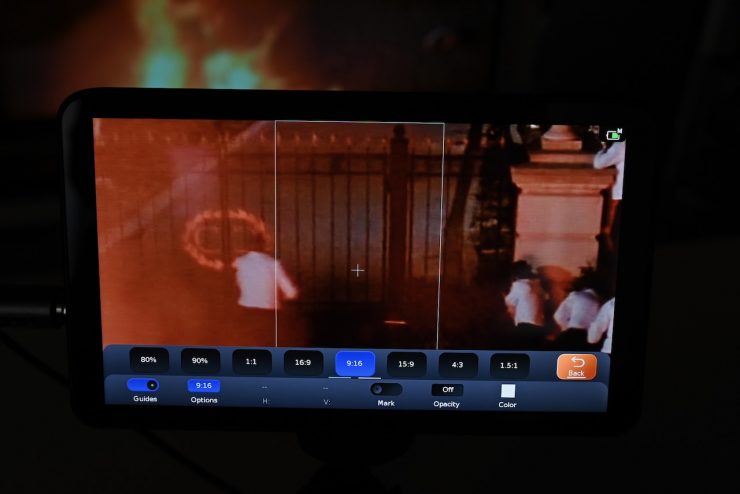
- Anamorphic image de-squeeze with 10 standard image ratios, including the popular 1.33x, 1.5x, 1.8x, and 2.0x, as well as the option to enter a custom aspect ratio from 0.25x to 4.0x.
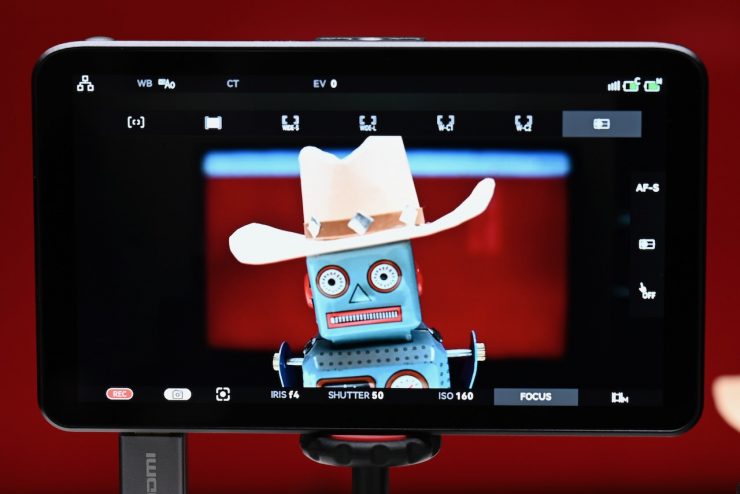
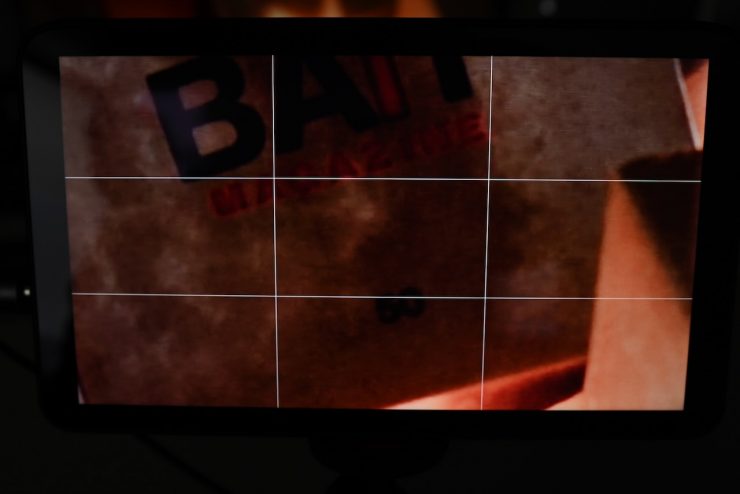
- Freeze frame functionality, which allows you to capture a frame on a USB stick and compare it with the live image signal. This freeze frame function can be particularly helpful for stop-motion shoots, for example.
- Stretch leg tool: when shooting vertically, you can stretch the bottom part of the image. The stretch leg tool feature can be sent to the HDMI output.
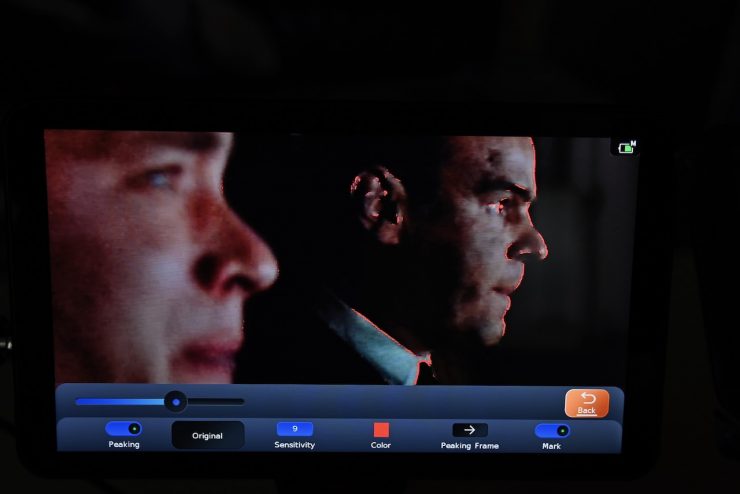
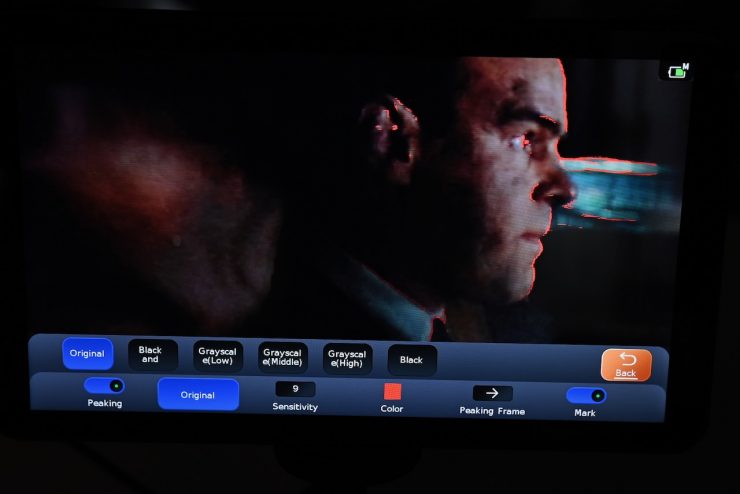
- Focus tools, including peaking, custom peaking frame, and zoom functions, ensure all your shots are as crisp as possible.
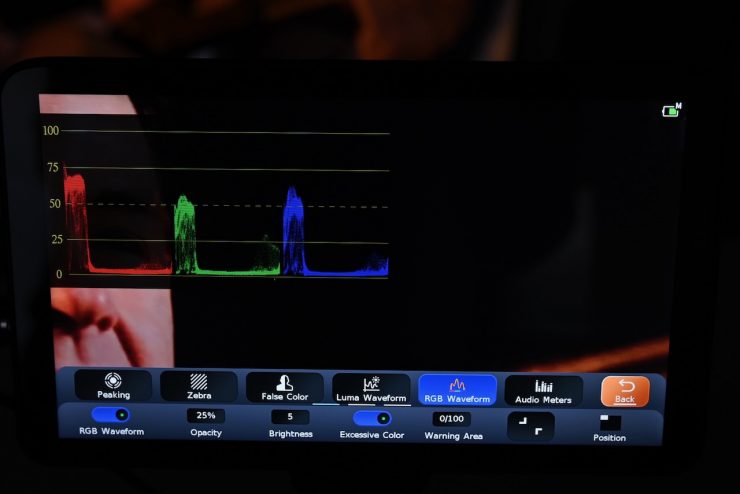
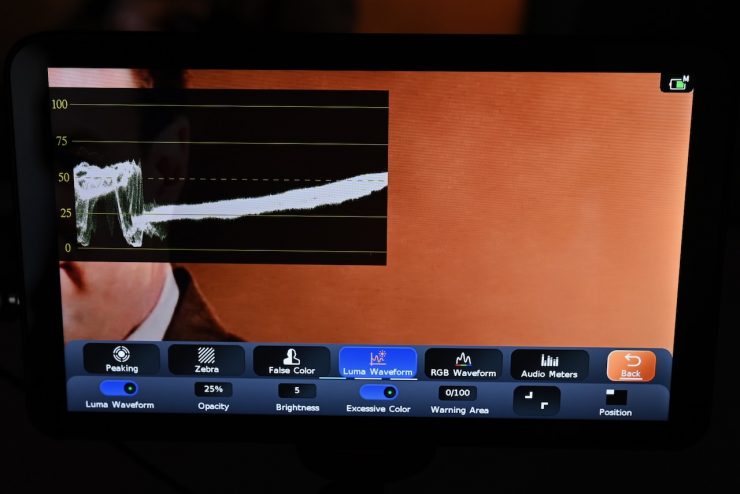
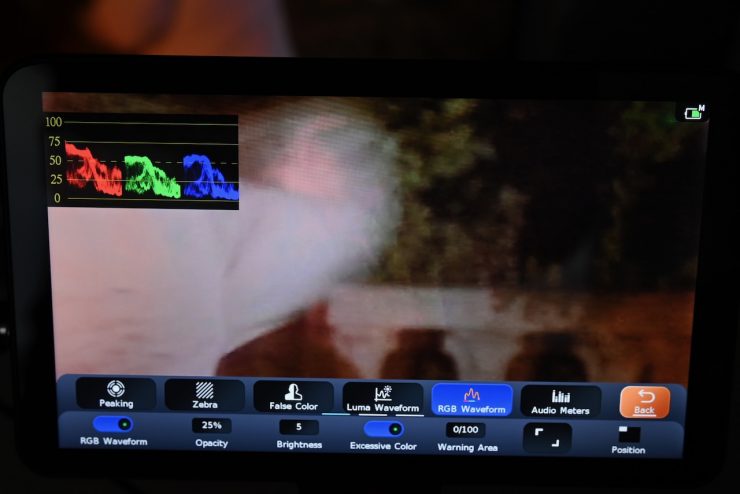
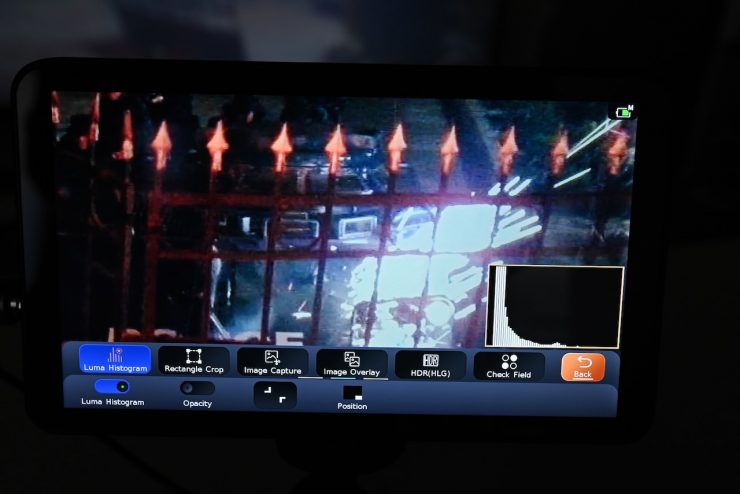
- Image analysis and exposure tools, including RGB and Luma Waveform, Vectorscope, Luma Histogram, Zebra, and customizable False Color with 3 different colors, including ARRI False Color.
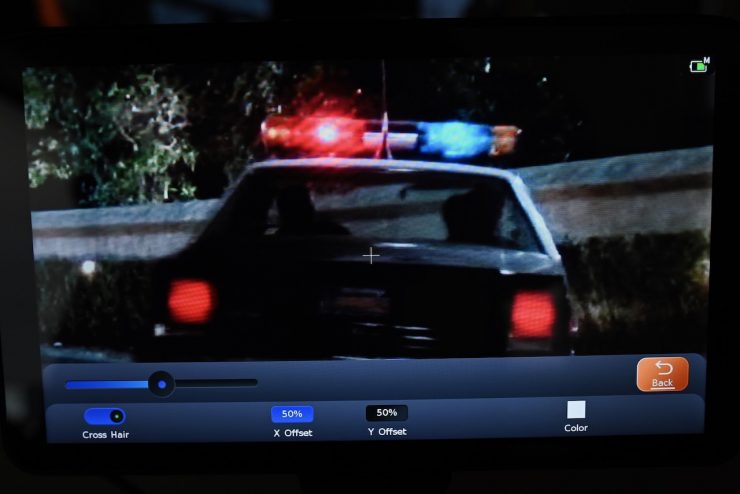
- Framing tools: crosshair, check field, guides, grids, rectangle crop.
- Audio meters.
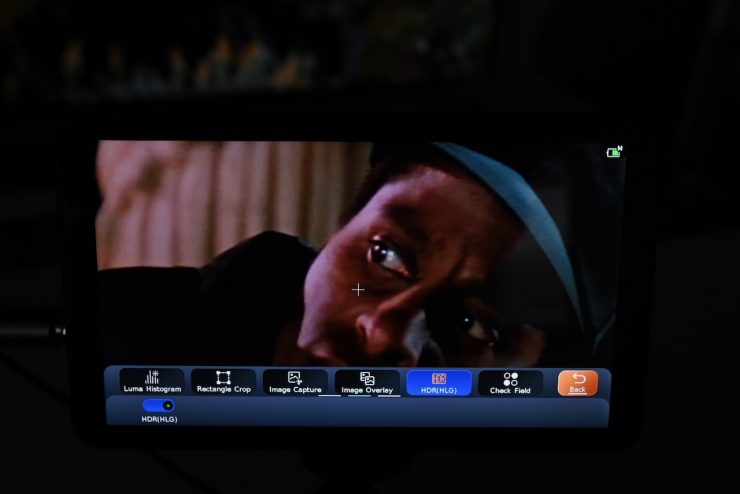
- Monitor adjustments: black level, backlight, contrast, color temperature, sharpness, chroma, brightness, tint, HDR/HLG, and image flip (H/V).
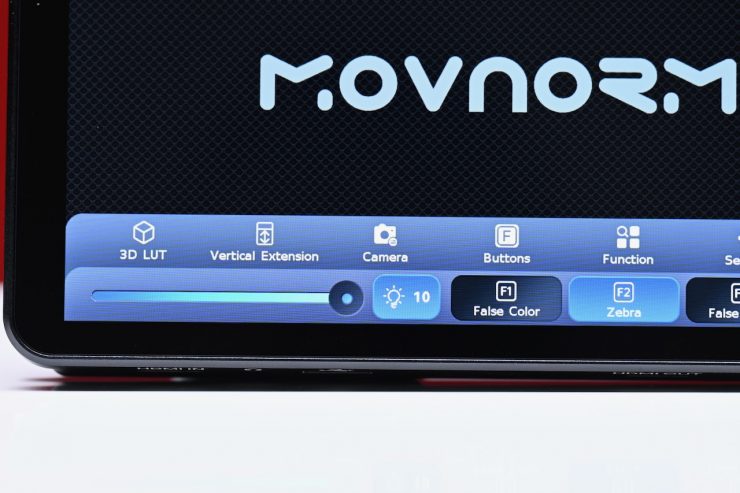
The operating system isn’t too bad, and it’s fairly similar to a lot of other systems on the market. I found it easier to use than most other OS systems that are found on affordable monitors.
One thing I like is that once you touch on a focus assist tool, the parameters to change it are right below, so you don’t have to go searching for another menu to make changes, like with a lot of other operating systems.
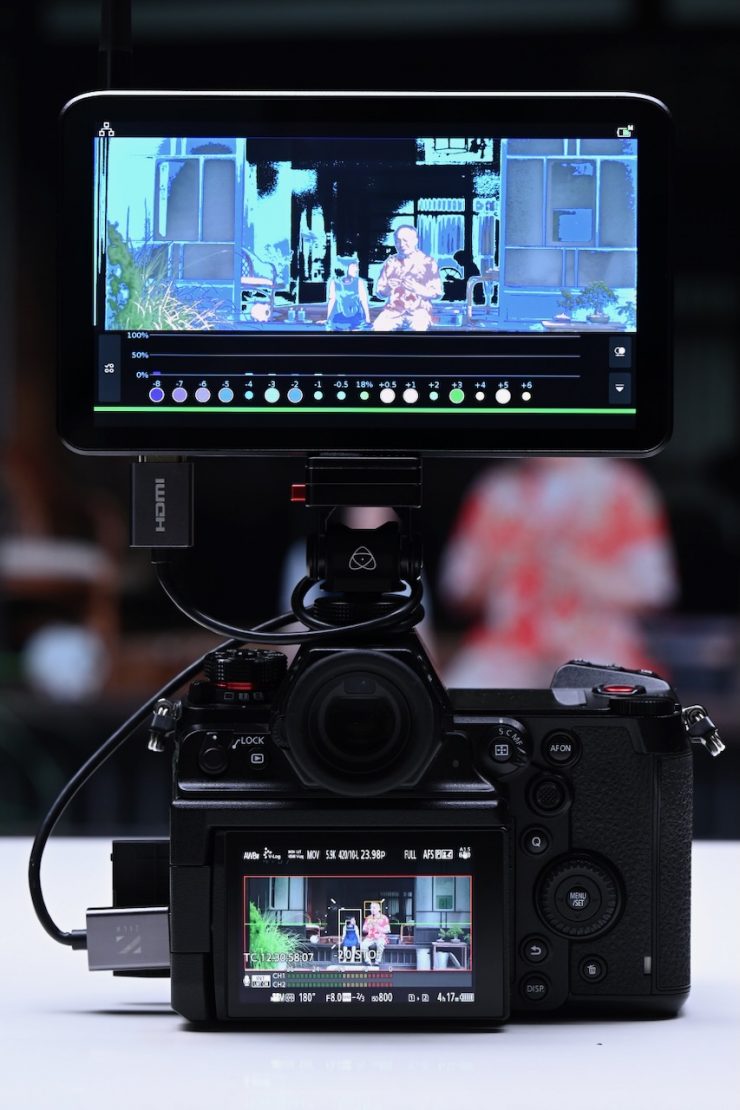
Log Stops
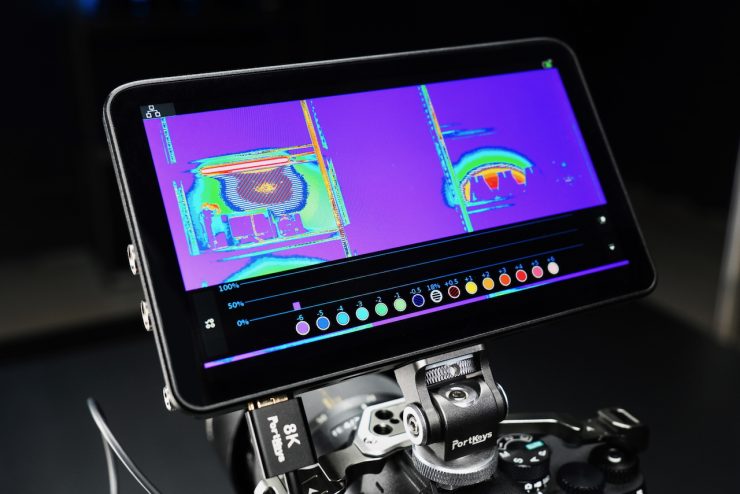
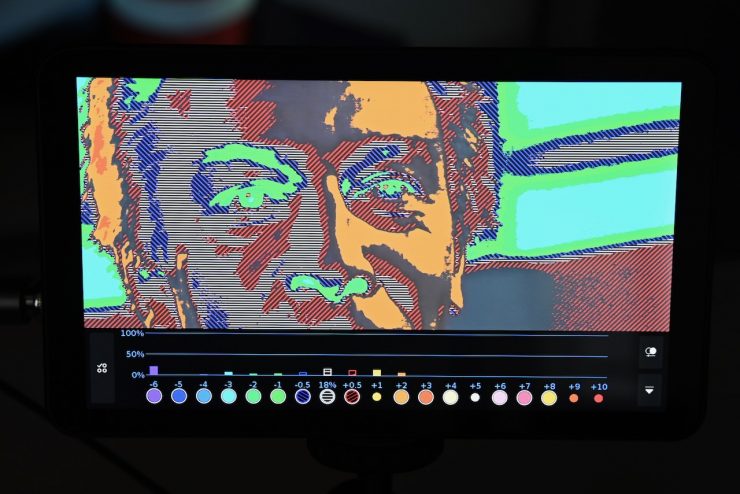
The Portkeys LS7P also features a new exposure tool called Log Stops. Unlike the traditional False Color tool, the Log Stops feature is based on the camera’s actual stop data. This tool is claimed to be unique to Portkeys monitors and automatically identifies the camera’s LOG signal, regardless of the brand or picture profile in use. The LOG signal is then divided into multiple exposure level zones. Each of these exposure levels can be displayed in a customized mode, either as false color or zebra, and users can turn them on or off as needed.
At the time of launch, the LOG signal auto-recognition feature only supports Sony cameras, but support for other brands will be added soon through a free firmware update.
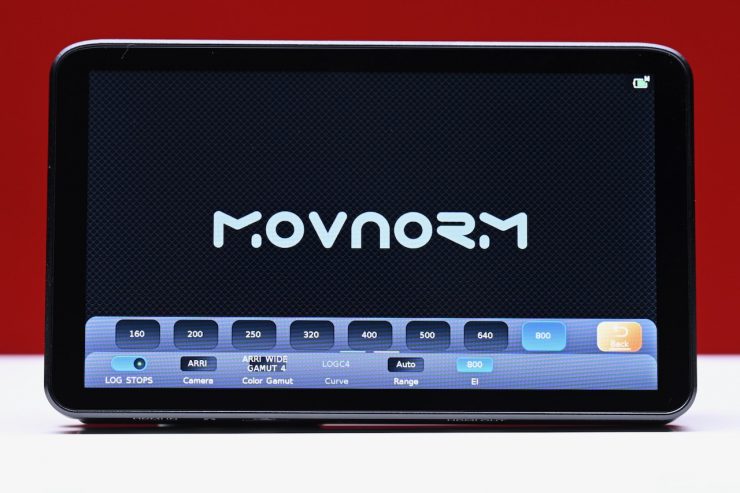
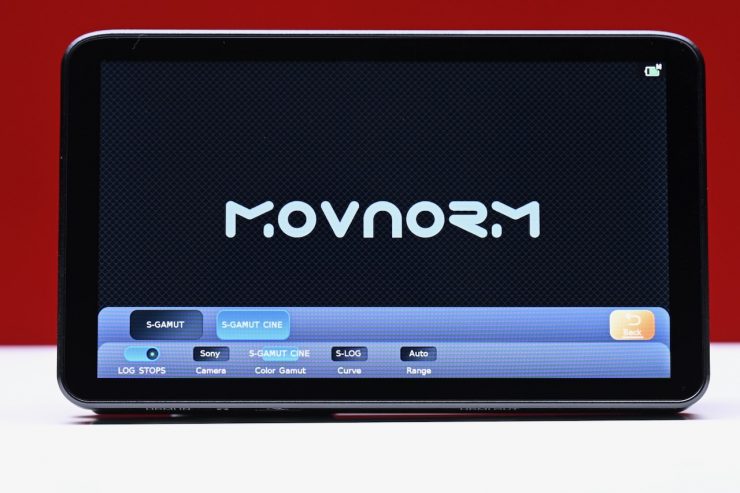
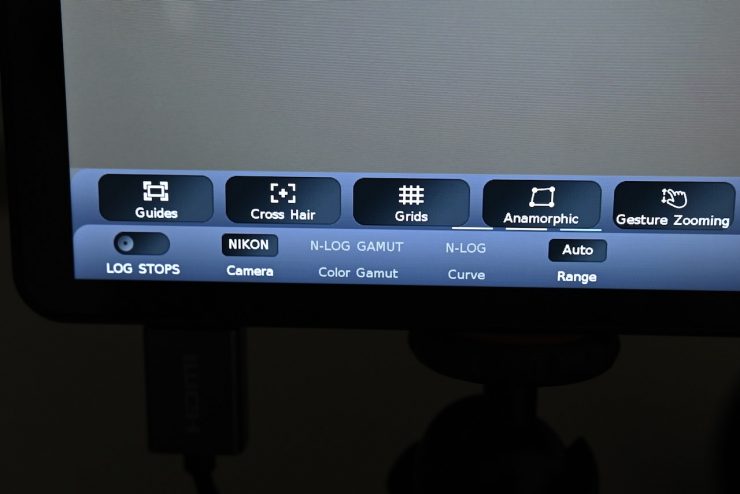
Currently, you need to set your camera brand and color gamut (and EI in the case of ARRI) manually for it to work with most cameras.
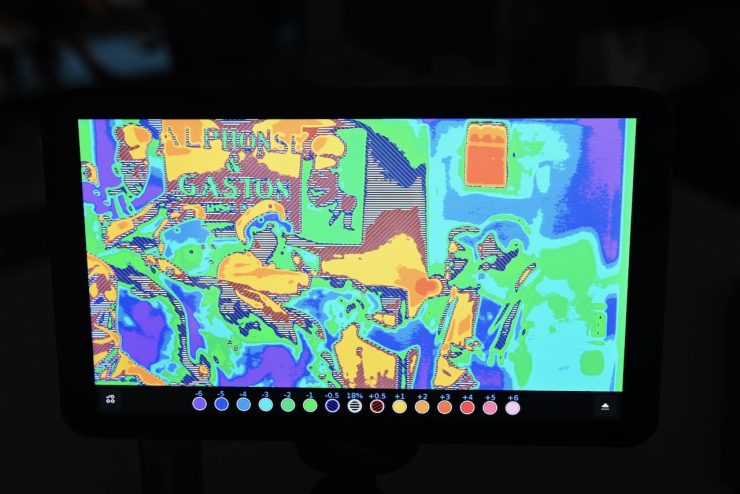
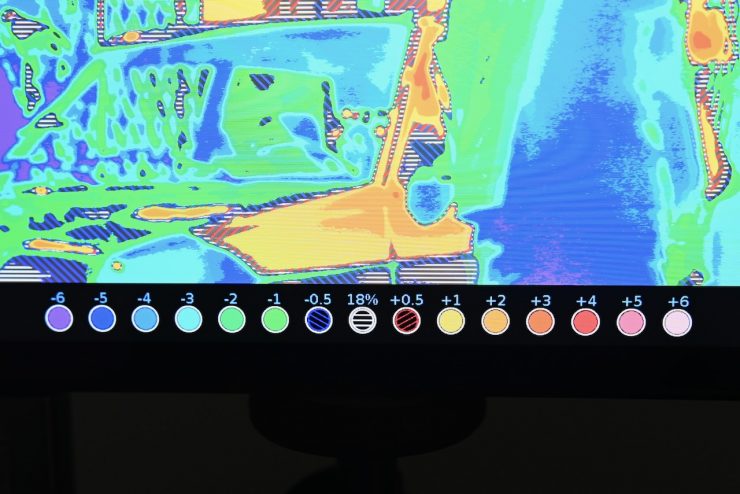
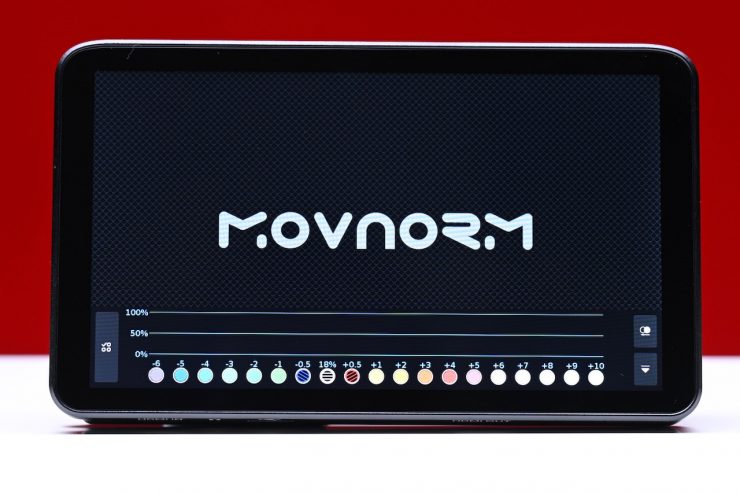
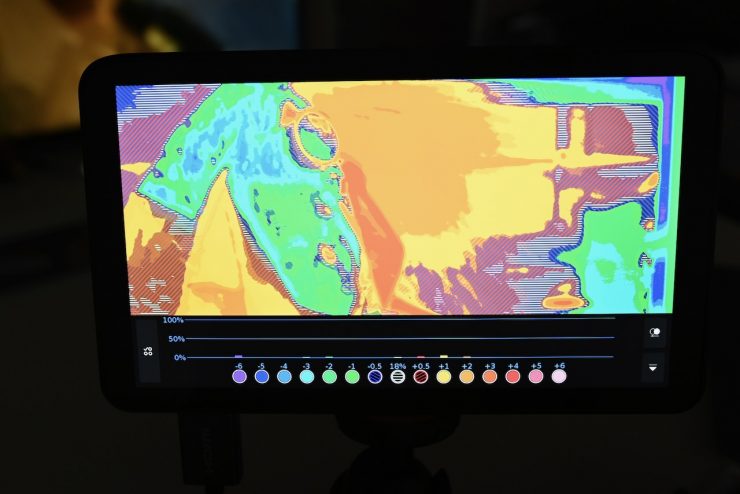
It will then show you a range of stops above and below 18% grey. How many stops it shows depends entirely on what camera and gamut are selected.
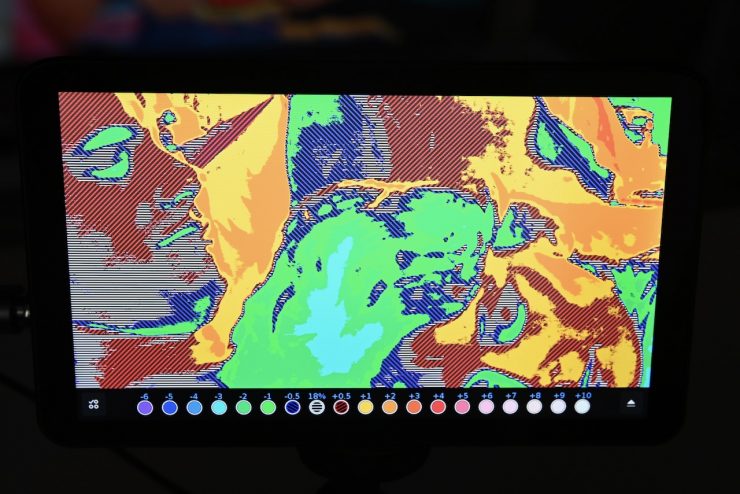
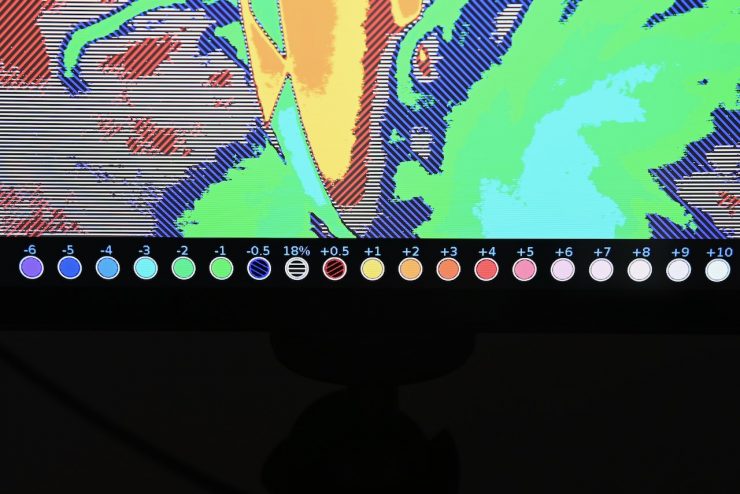
In the case of ARRI and LogC4, you will see 6 stops below middle gray and 10 stops above.

You can also change the colors for the stops, which some users may prefer to do.
What I found is that if you have a LUT selected on the LS7P and you turn on Log Stops, it will automatically turn the LUT off. This is handy, however, once you exit Log Stops, you need to go back into the menu and enable the LUT again.
Log Stops is an interesting addition; however, it is fairly similar to EL Zone.
Wireless Camera Control Capabilities
The LS7P features wireless camera control capabilities, which allow you to control a wide range of cameras from brands such as ARRI, RED, Blackmagic Design, Canon, Sony, and Panasonic. It supports popular models, including the Sony FX3, FX30, and FX6, as well as the Canon EOS C80 and C400, among others.
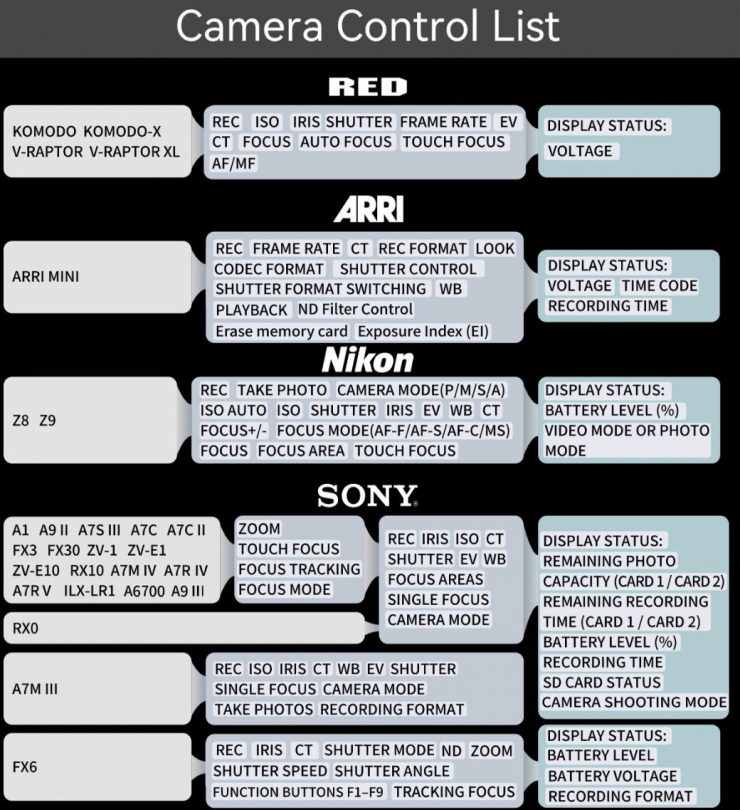
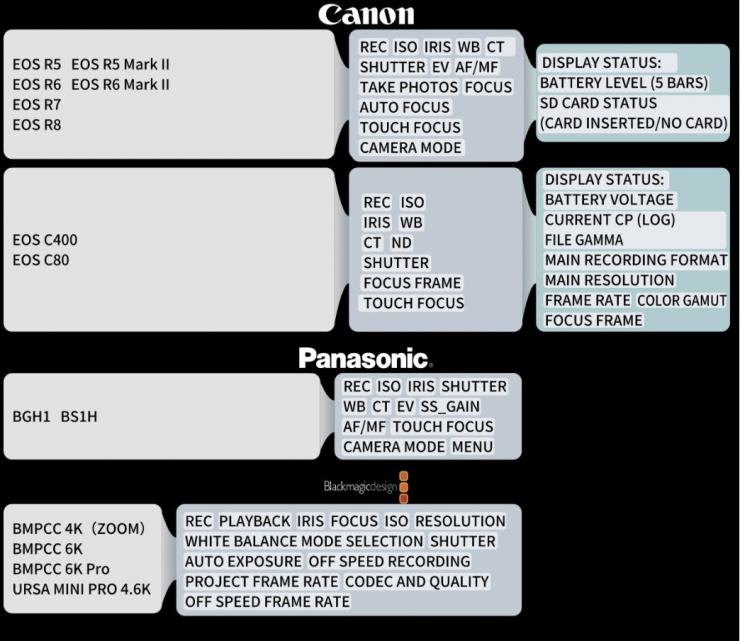
Above, you can see exactly what cameras it supports and what wireless control capabilities are available.
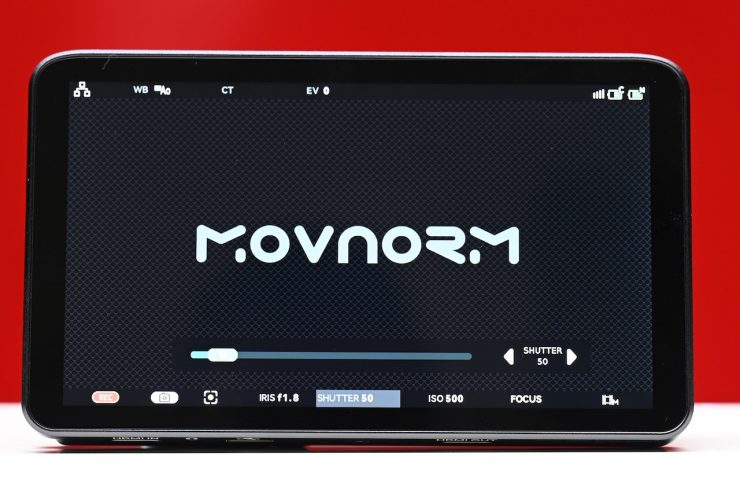
You can adjust settings like aperture, shutter speed, ISO, ND filter, and white balance directly on the monitor’s screen.

I wanted to try it out with a popular camera, such as the Sony FX6.
Portkeys has an instructional video on how to set it up. I suggest you watch it, as there are quite a few steps you need to take.
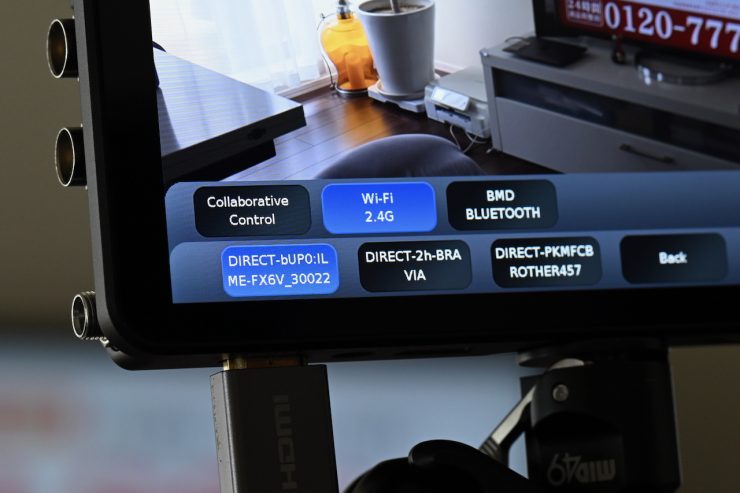
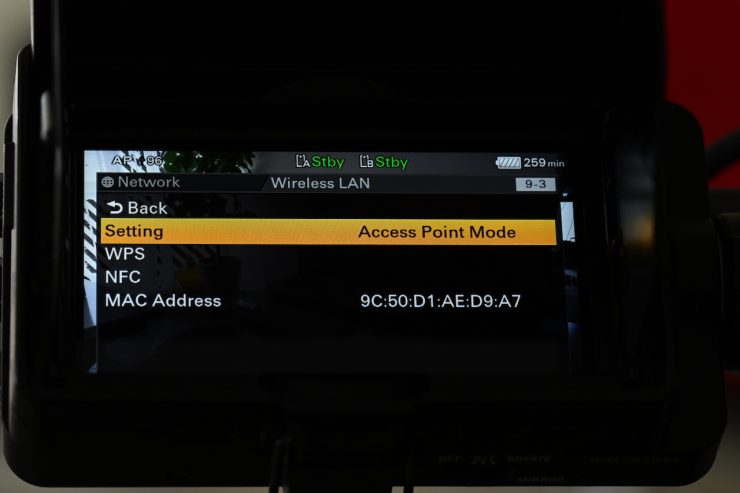
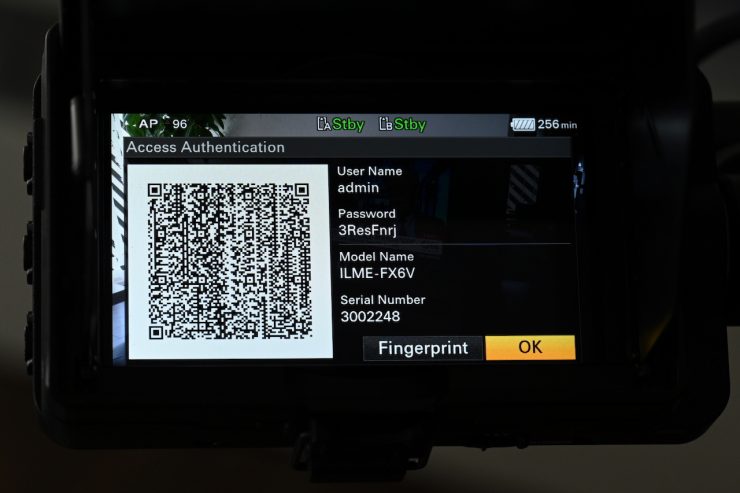
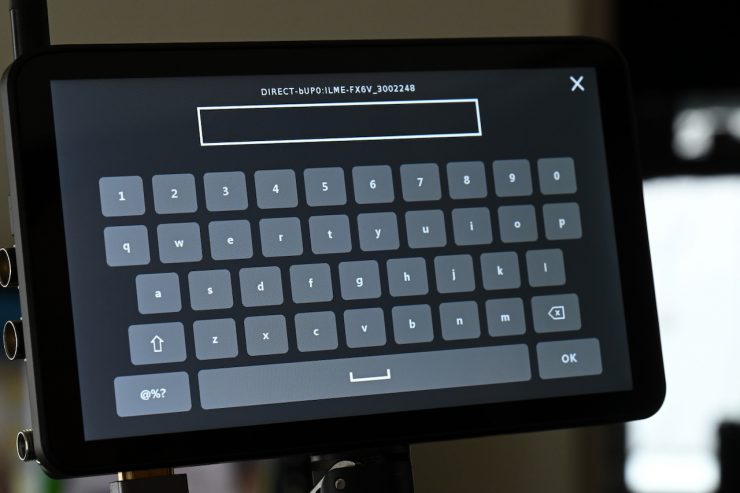

Getting the camera and monitor set up for the wireless camera control is a little tedious and slow to do the first time. The good news is, once you have done it once, you don’t need to do it again.
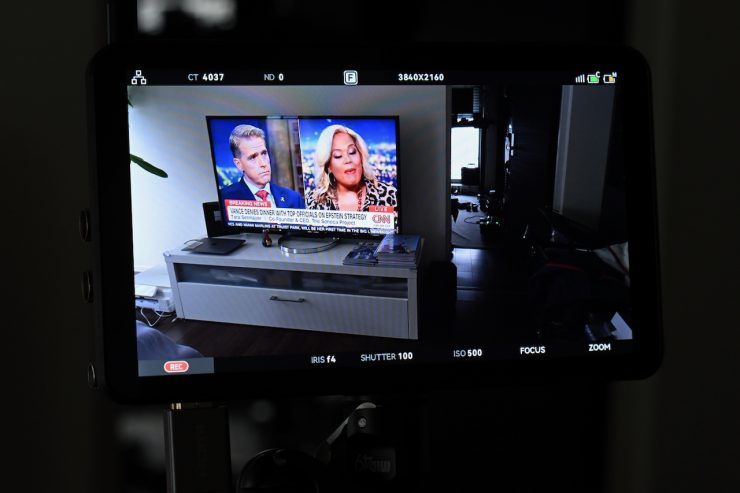
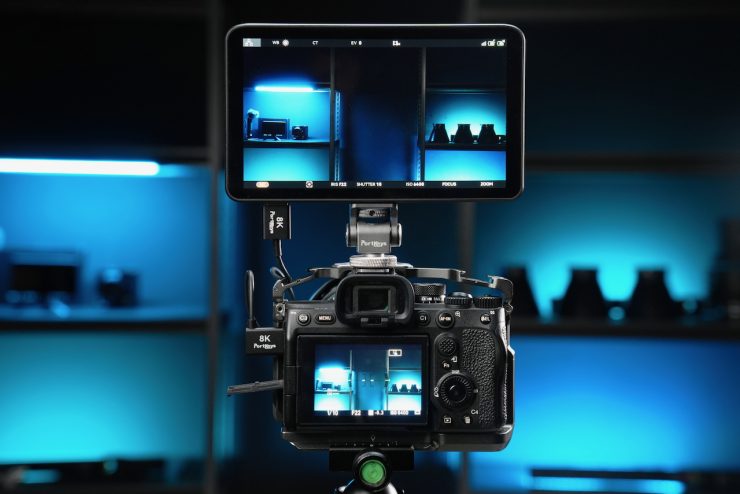
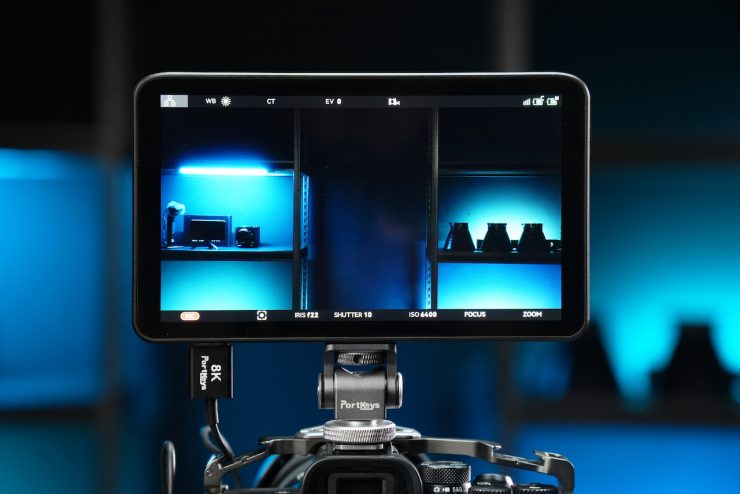
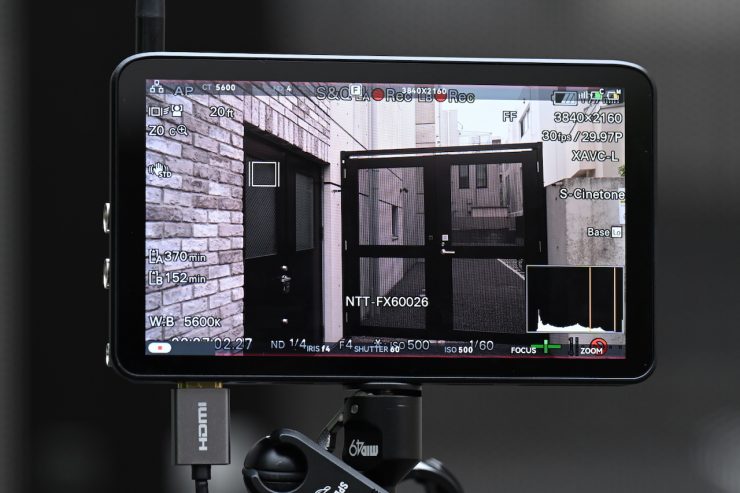
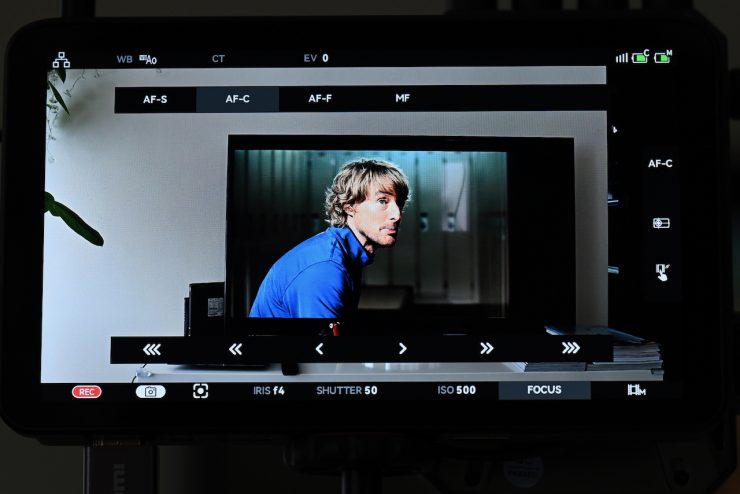
Once it has connected up, you will see the various camera control configurations on the screen. With the FX6, you get ND, WB, Iris, Shutter, ISO, Focus, and Zoom controls.
There is a slight delay when making changes to parameters, but the touch focus is very snappy and works well. It was also nice to be able to do a zoom with a compatible lens.
While for the most part, everything works well, I did find some caveats. Occasionally, for no apparent reason, some of the parameter adjustments suddenly no longer work. I found the only way to rectify this was to turn the LSP7 off and then back on again.
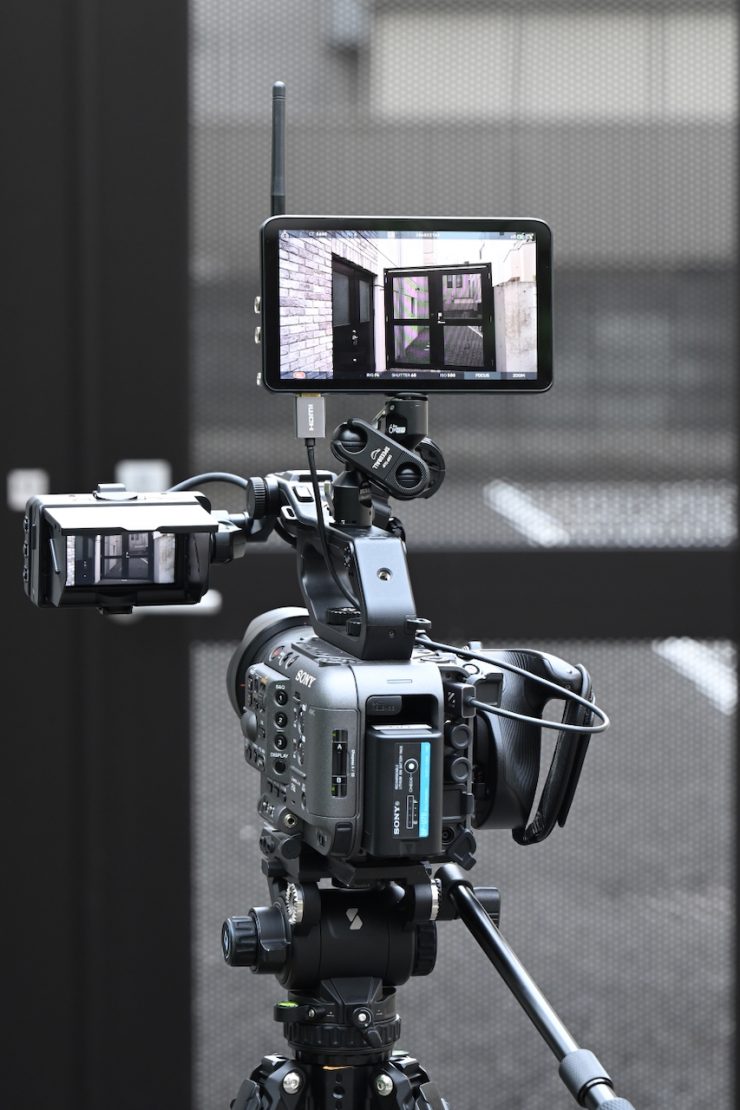
The other issue is that if you have the OSD activated on the HDMI or SDI out of the FX6, it is hard to see certain parameters as they are covered by the camera control icons on the LSP7. You can change the OSD transparency on the LSP7 (as I have in the above picture), but it doesn’t help that much. I would have preferred for the monitor to show a slightly smaller image on the screen and have the camera control parameters on the outside of the image.
What I also found is that it can be difficult to connect over Wi-Fi to certain cameras, but that is more to do with the overly complex menus that tend to be found in a lot of mirrorless hybrids and some digital cinema cameras. As an example, I tried to connect up a Sony a7S III, and I couldn’t get the monitor to see the Wi-Fi network. However, with the Nikon Z9, this was pretty easy to do, and the monitor recognized the camera’s Wi-Fi network very quickly.
Once the Z9 was connected, you would see the setting information for various parameters on the monitor’s screen.
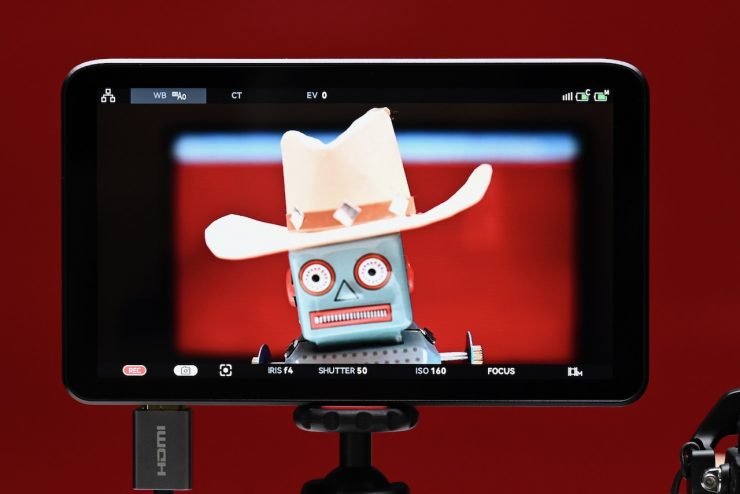
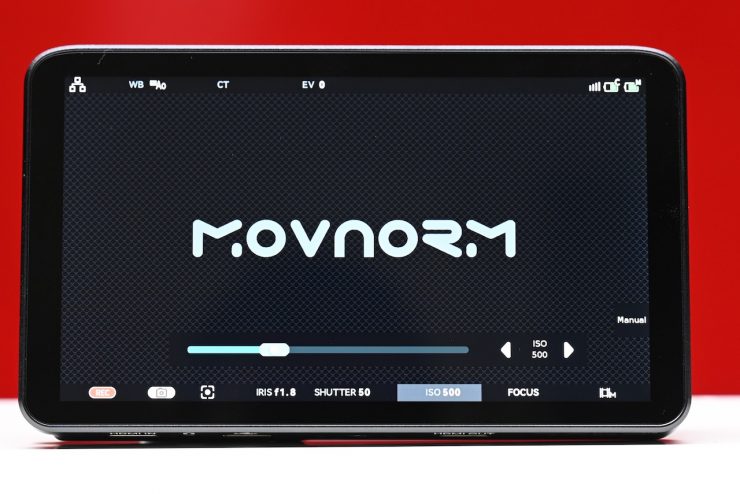
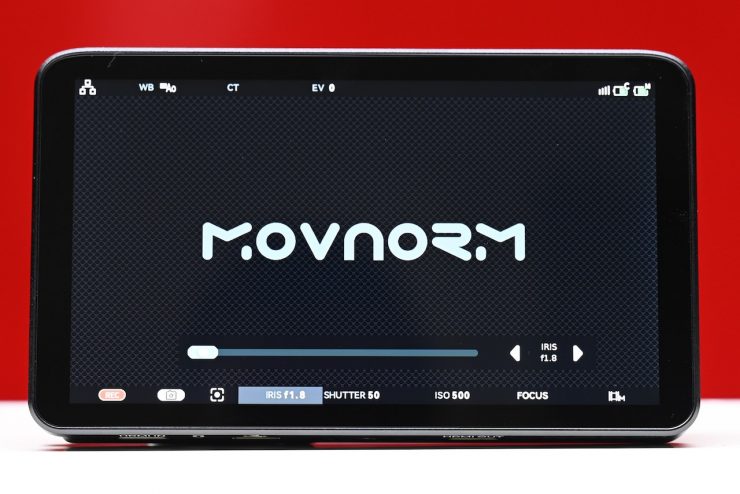
Making adjustments to the F stop, ISO, shutter speed, and white balance is relatively easy to do.
There is a noticeable delay when making changes, and this is even more apparent when using the monitor with a wireless RX attached.
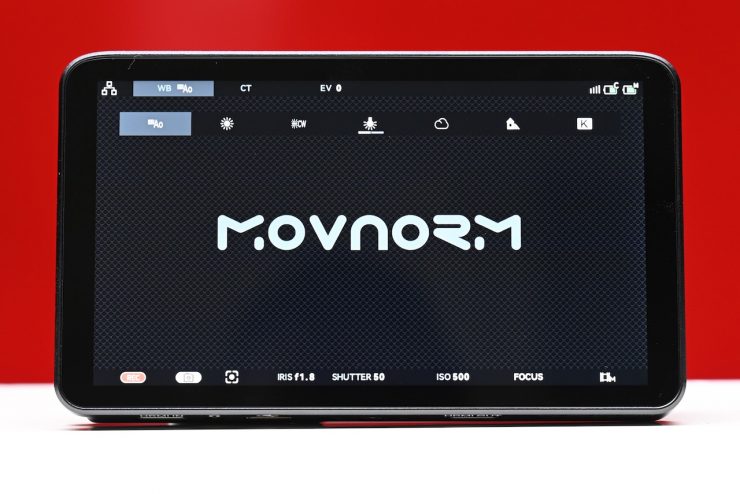
Above, you can see how to make changes to the WB.
If you press record, it takes a second or so to respond. What is not ideal is that when you press the button to stop the recording, the screen goes black and then comes back on.

You can also adjust the focus settings and do touch focus on the screen.
The focus control capabilities and how well that works really depend on the camera you are using. I found that with the Nikon Z9, the results were not great. Touching the monitor’s screen to select the focus was very hit and miss. When I was doing this directly on the camera’s LCD screen, it was fast and responsive, but on the monitor, it was often slow to respond, or it would hunt and not grab focus at all.
At least in my opinion, with a mirrorless hybrid, it is easier to just control the focus on the camera itself. Again, you could also make a strong argument that if you have a monitor attached to the camera, it is probably faster and easier to adjust the iris and iso on the camera as well, rather than use the monitor. While the wireless control capabilities are probably one of the biggest selling points, it’s not that you are forced into having to use it. If you prefer making adjustments on the camera, then just do that.
Where the LS7P’s wireless control capabilities are arguably much better utilized is if you are using it on a gimbal, or if you have a wireless RX unit attached to it, or if you need to control some parameters of a camera that are out of reach. For these scenarios, it comes in very handy, albeit with some extra delay if you are using a compressed Wi-Fi-based wireless video system.
One-To-Many Control System
The Portkeys LS7P also comes with the new one-to-many control system. This allows users to manage and adjust the settings of multiple cameras using just one monitor. The way it works is that a master Portkeys monitor can communicate wirelessly with up to four other compatible Portkeys monitors that have built-in camera control capabilities, all within a range of 50m / 165′. This means you can adjust the settings of all connected cameras, regardless of their brand, from a single location.
In multi-camera shooting environments, this feature enables you to simultaneously adjust settings and focus for multiple cameras without the need for cables. The one-to-many control system is compatible with the following Portkeys monitors:
- LS7P
- LH7P
- LH5PII
- BM7IIDS
- BM5IV WR
I wasn’t able to test this out as I don’t have access to more wireless PortKeys monitors.
Fan Noise
The LS7P does feature a fan to keep it cool. The default fan setting is very noisy, and at first glance, it is very hard to find where the fan settings are.
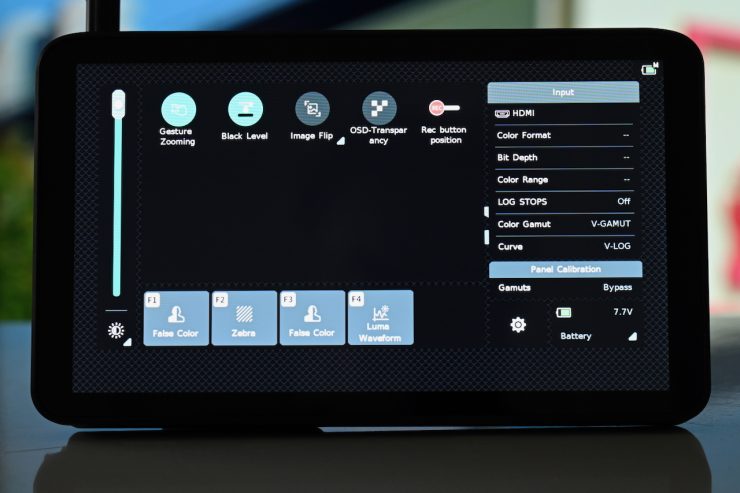
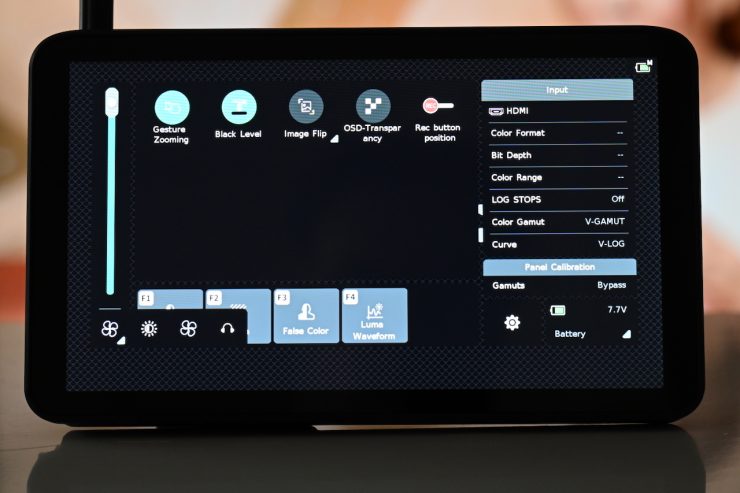
The fan setting is not easy to find, and you need to go to the main overview menu and then tap on the icon at the bottom of the brightness slider and select the fan icon to be able to make changes.
Now, you can simply just use the slider to lower the fan speed, but nowhere does it tell you what that is actually doing. There are no Auto, Medium, and High settings per se, or any way to know what the operating temperature of the unit is. If you turn the monitor off and then on again, the fan setting will remain where you last left it.
I left the monitor on with the fan set low to see what would happen. The fan didn’t automatically start going faster once the unit started getting hotter. This is potentially dangerous as the LSP7 can continue to operate, even in hot conditions, with the fan set very low. After about 15 minutes, the monitor became too hot to touch.
The default fan noise is way too loud for my liking, and if you have it mounted on a camera, there is a good chance the audio will be picked up by an onboard microphone. Even if you set it to its middle setting, it is still quite loud.
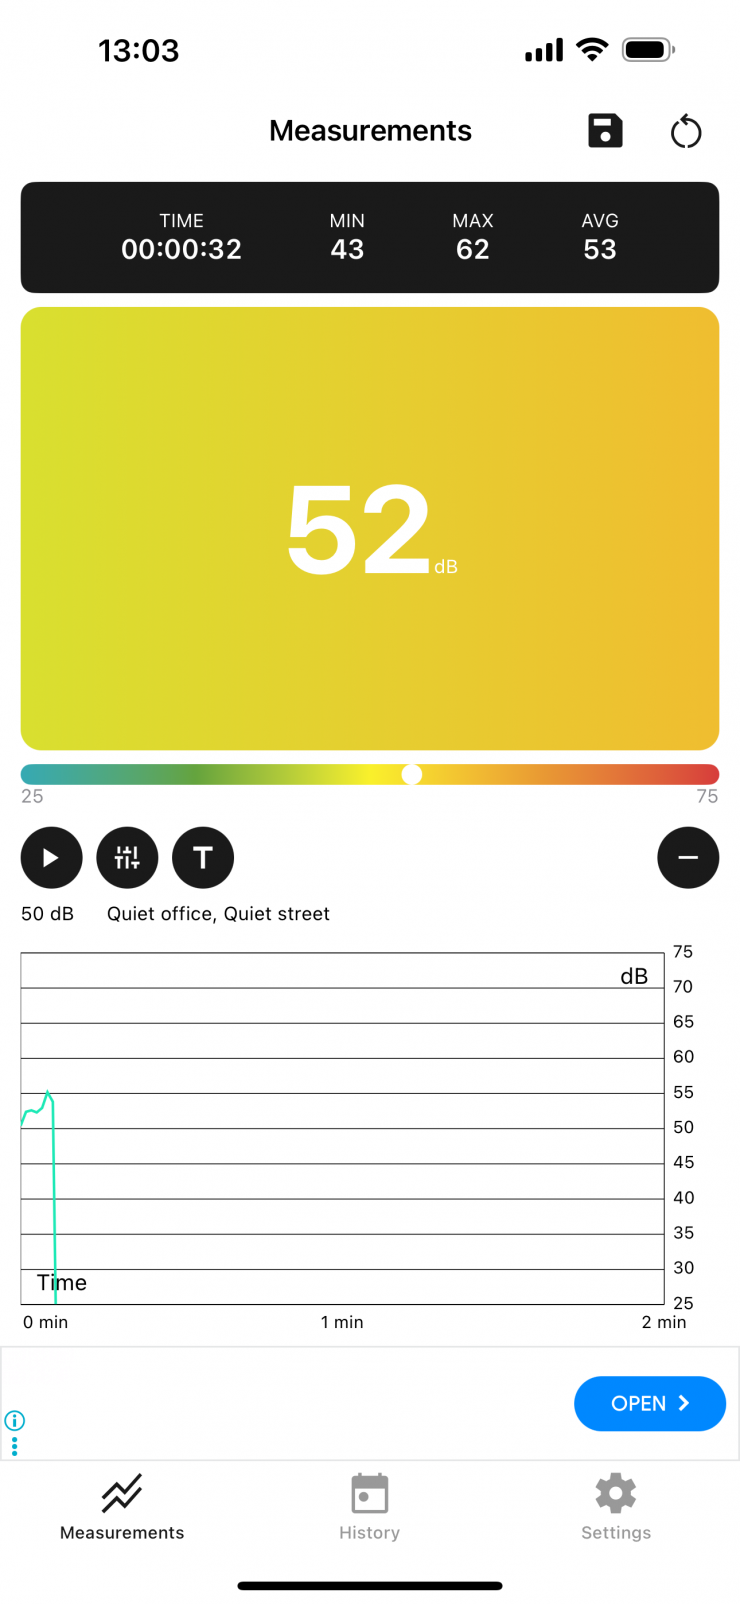
Above, you can see the sound level measurement I took with the fan in its default setting. You ideally want monitors to make no noise at all, or at least be so quiet that you can’t noticeably hear them in a working environment.
The only time the fan goes quiet when it is in its default setting is if you use the LS7P to trigger the recording of a camera wirelessly. Once you hit record on the screen, it goes quiet, and once you stop the recording, the fan goes back on again.
The monitor stays fairly cool to the touch even when left on for extended periods of time, as long as the fan is on at its default setting. As soon as you turn it down, the unit starts to get pretty hot fairly quickly, as I previously mentioned.
Monitoring Tools
The LS7P, as I previously mentioned, includes a full suite of professional monitoring tools, including False Color, Zebras, Waveform, image capture, image overlay, etc. There is no vectorscope.


There is a good selection of tools to choose from.
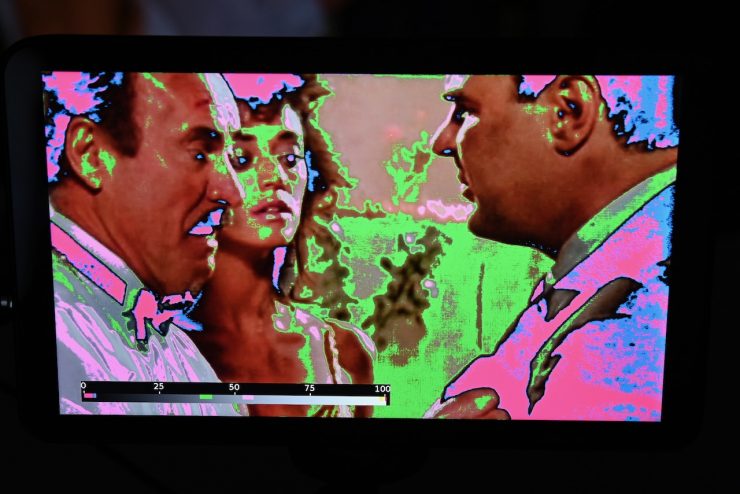
With the false color, you can change it between ARRI and User. The User settings seem very generic, but you can set under- and over-exposure warnings manually.

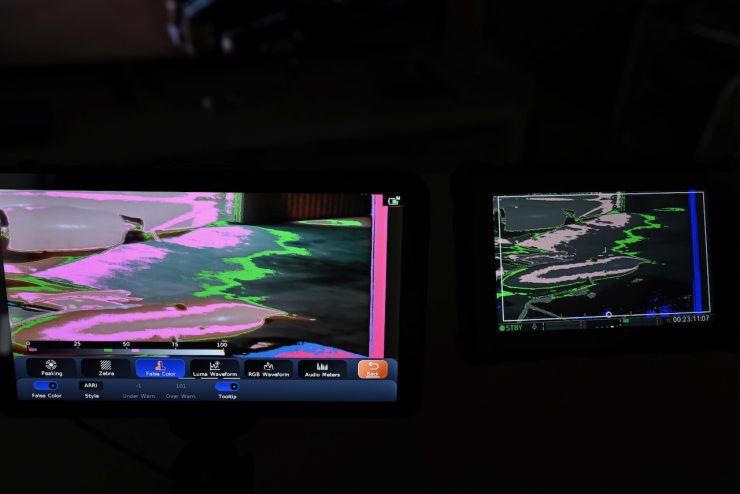
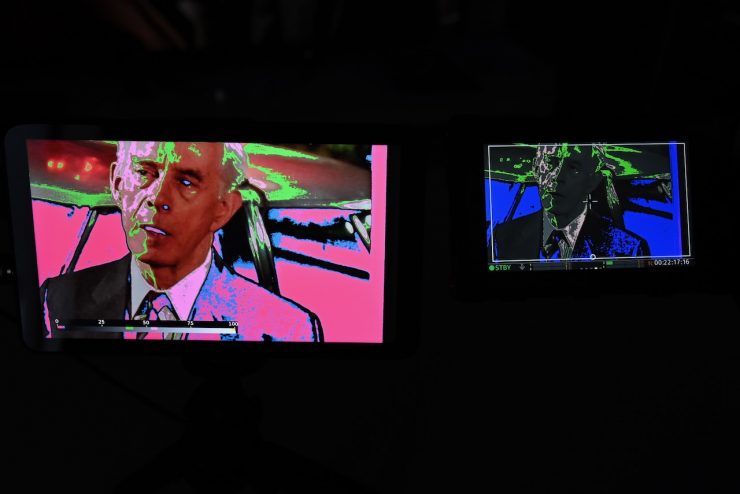
I found that with an ALEXA 35, the false color was pretty close to what I was seeing in my camera, except the LS7P shows you more colors.
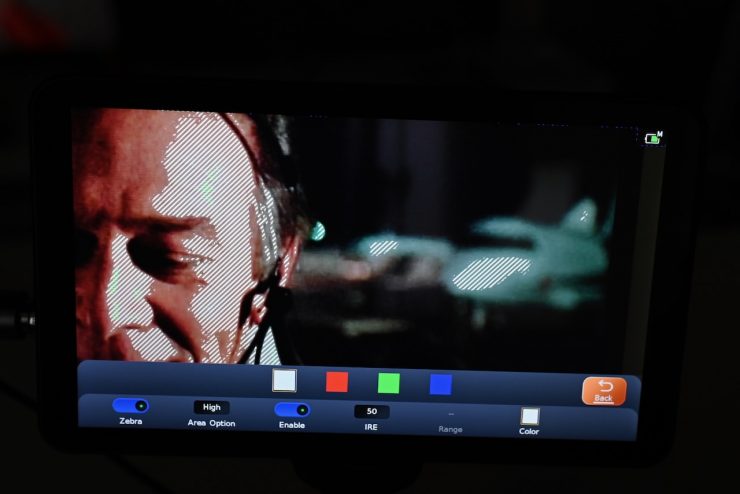
With Zebras, you can choose to set them from Low to Middle to High. You can also set the IRE level you want them to appear, as well as their color.
Boot Up Time
The monitor is reasonably fast when it comes to booting up from scratch. It takes roughly 10 seconds from the time you turn it on until you receive an image.
What do you get?
The monitor ships with a safety box, a 2.4GHz straight mini antenna, a mini USB stick, screen wipes and two screen protectors, and a D-Tap to locking 5.5mm power cable.
Pricing & Availability
The Portkeys LS7P is available to preorder now for $449 USD. Pre-order lead time is about 1 month. The first batch is reserved for pre-order customers only.
| PRICE | |
| Portkeys LS7P | $449 USD |
| Accsoon CineView M7 | $899 USD |
| SmallHD ULTRA 7 | $2,999 USD |
| SmallHD INDIE 7 | $999 USD |
| SmallHD Cine 7 | $1,999 USD |
| Atomos Ninja TX | $999 USD |
| Atomos Shinobi 7″ | $699 USD |
| Atomos 7″ Shogun Ultra | $999 USD |
| Blackmagic Design Video Assist 7″ | $915 USD |
| TVLogic F-7HS | $1,485 USD |
| Portkeys LH7P | $349 USD |
| BenQ 7″ | $799.99 USD |
| FeelWorld S7 | $599.99 USD |
| Shimbol M7 | $379 USD |
| OSEE G7 Pro | $499 USD |
Above, you can see how that price compares to some of the competition. Please note that a lot of the monitors offer different features and functionality. At $499 USD, the Portkeys LS7P is very affordably priced.
Thoughts
The LS7P is a nice monitor with some nice features, especially considering its relatively low price.
The wireless camera control is a nice feature, but it can be a little tedious to set up with certain cameras. This is more to do with the endless menus in a lot of mirrorless hybrids and some digital cinema cameras than the monitor itself. There is also a delay when making changes, and the touch focus can be a very hit-and-miss depending on the camera you are using. With a camera like the Sony FX6, the touch focus capabilities work really well, but conversely, on the Nikon Z9, it was borderline unusable.
The screen quality is pretty good, but it isn’t super bright, which does make it very hard to see outdoors in strong sunlight.
The MOVNORM OS operating system is reasonably good, and the Log Stops is a nice feature to have, although I’m not sure why they just didn’t license EL Zone.
One of the biggest caveats is the default fan noise, which is way too loud for my liking. Yes, you can make it quieter by adjusting it, but because there is no auto setting, the monitor will just get hotter and hotter without the fan changing.
The size, weight, and build quality are all good, and you get a few different powering options.
For $449 USD, it is hard to complain, but it’s my job to make sure that you know exactly what you are getting with a product, and what the positive and negative aspects are. PortKeys is arguably leading the pack when it comes to affordable monitoring solutions, but that’s not to say there isn’t room for improvement. Despite some of the issues, at least in my opinion, the LS7P is considerably better than any other 7″ monitor that costs under $500 USD.